 Welcome to
KF6ELU's Ham Radio Place!


**My latest antenna modification project back on March 17th - 19th, 2021.**
(Pic below here info)
The project began in the bedroom ! ! !
You could call it my queen size soft work bench.. HiHi 
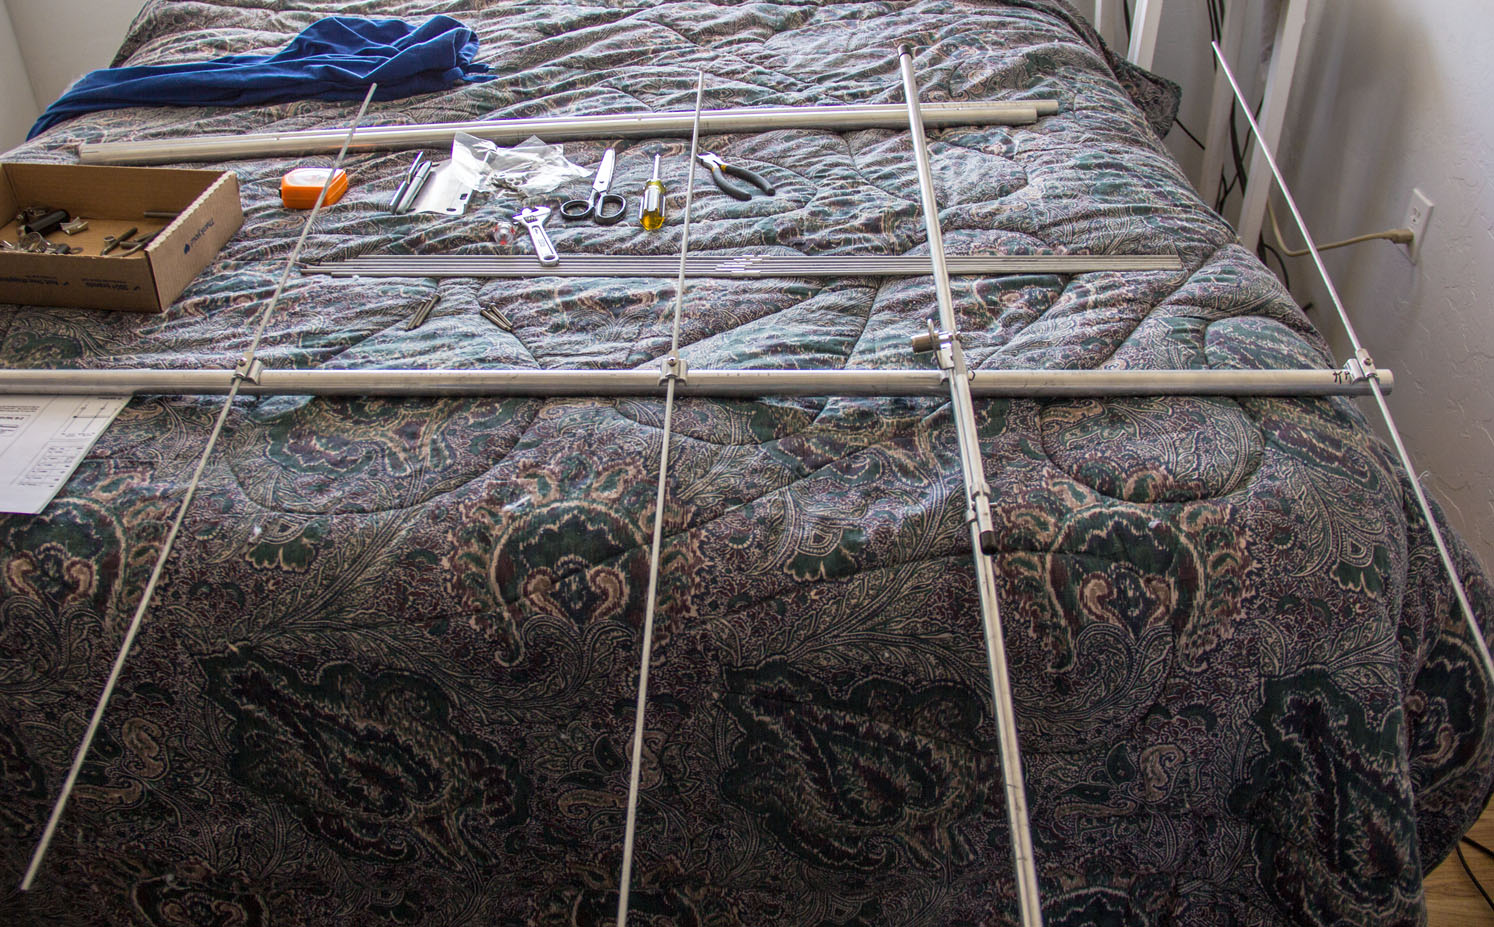
Because it was still somewhat cold outside, I put the antenna together in my home. Its a 12 foot boom length that is in 3 sections. Each 4 foot long. Easier to get it out of the house and up on the the roof in 3 pieces, and assemble up there. This was the back of the boom.
(Pic below here info)
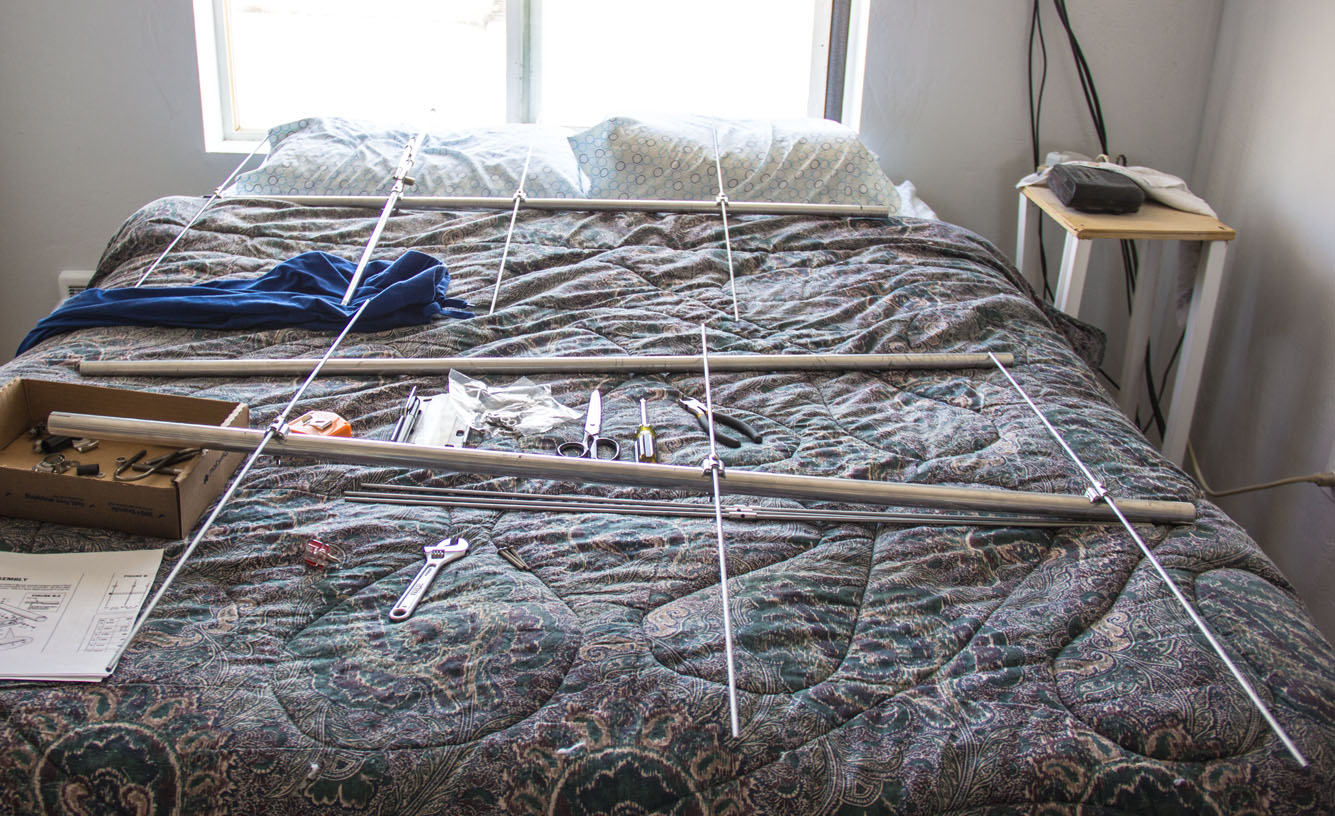
This was the middle section of the boom.
(Pic below here info)
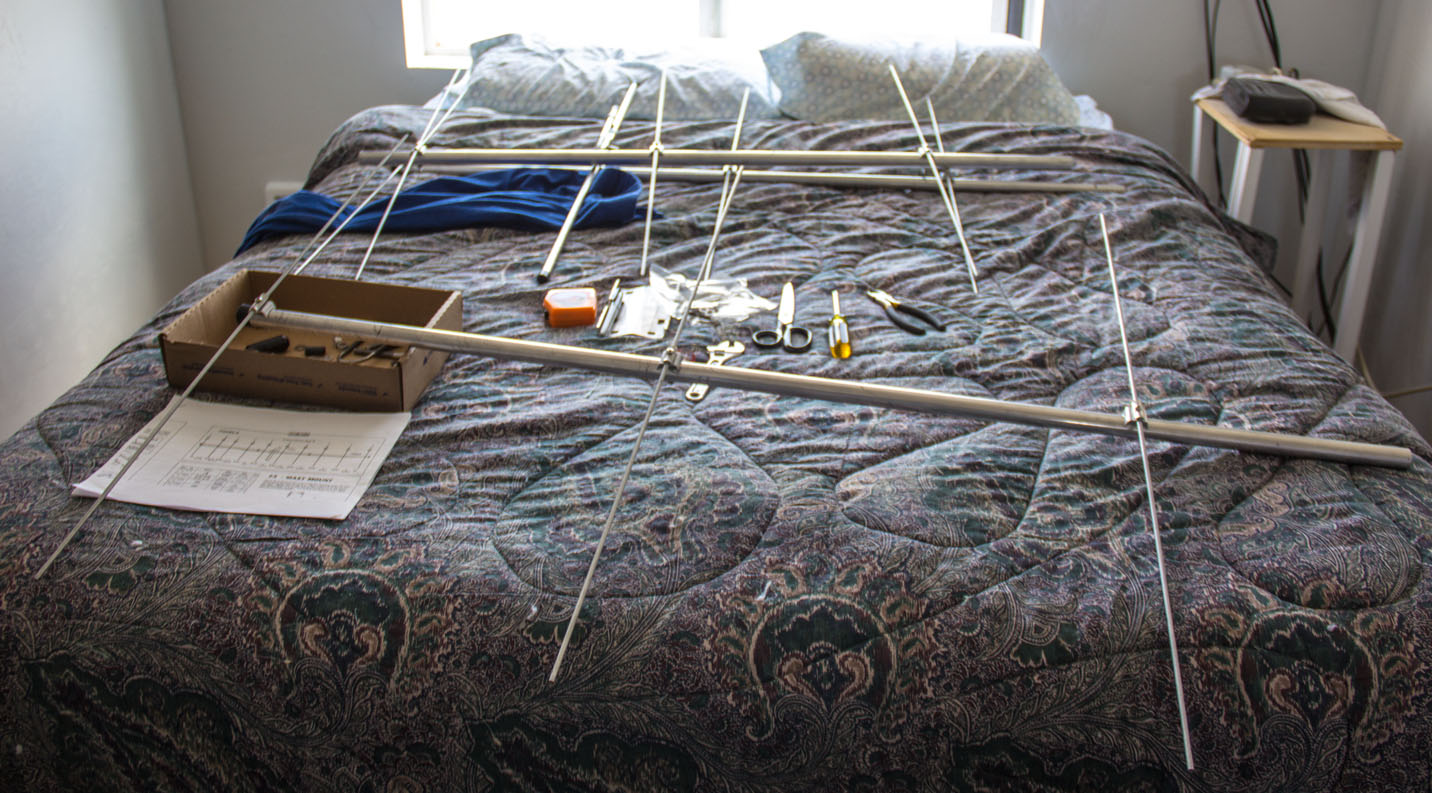
This was the front section of the boom.
(Pic below here info)
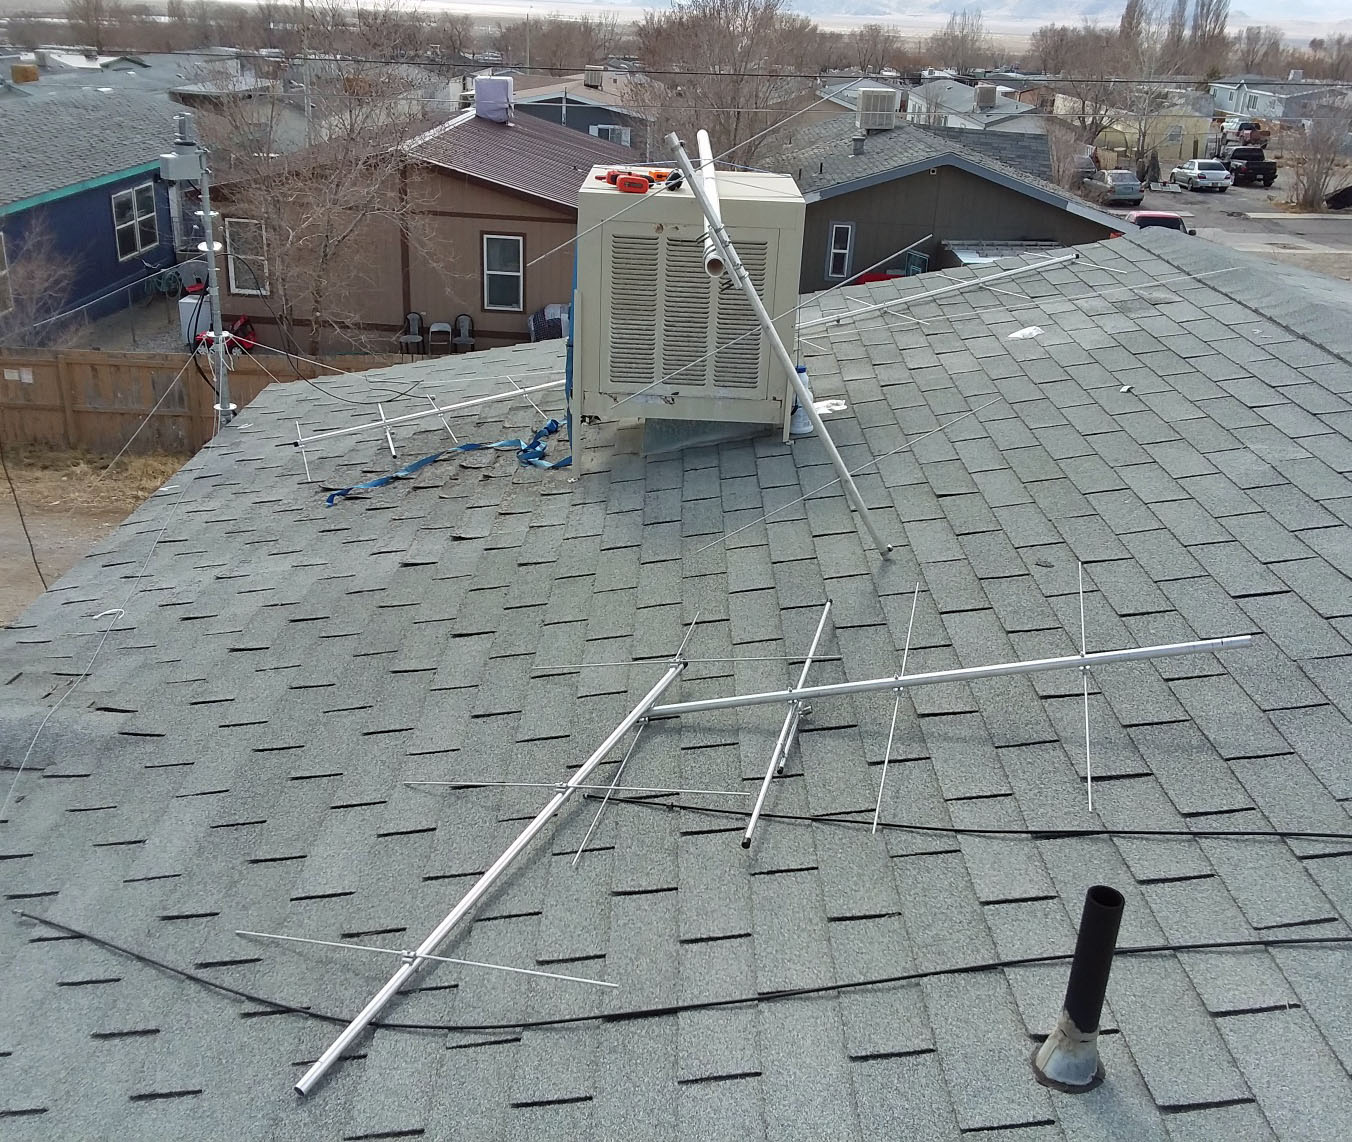
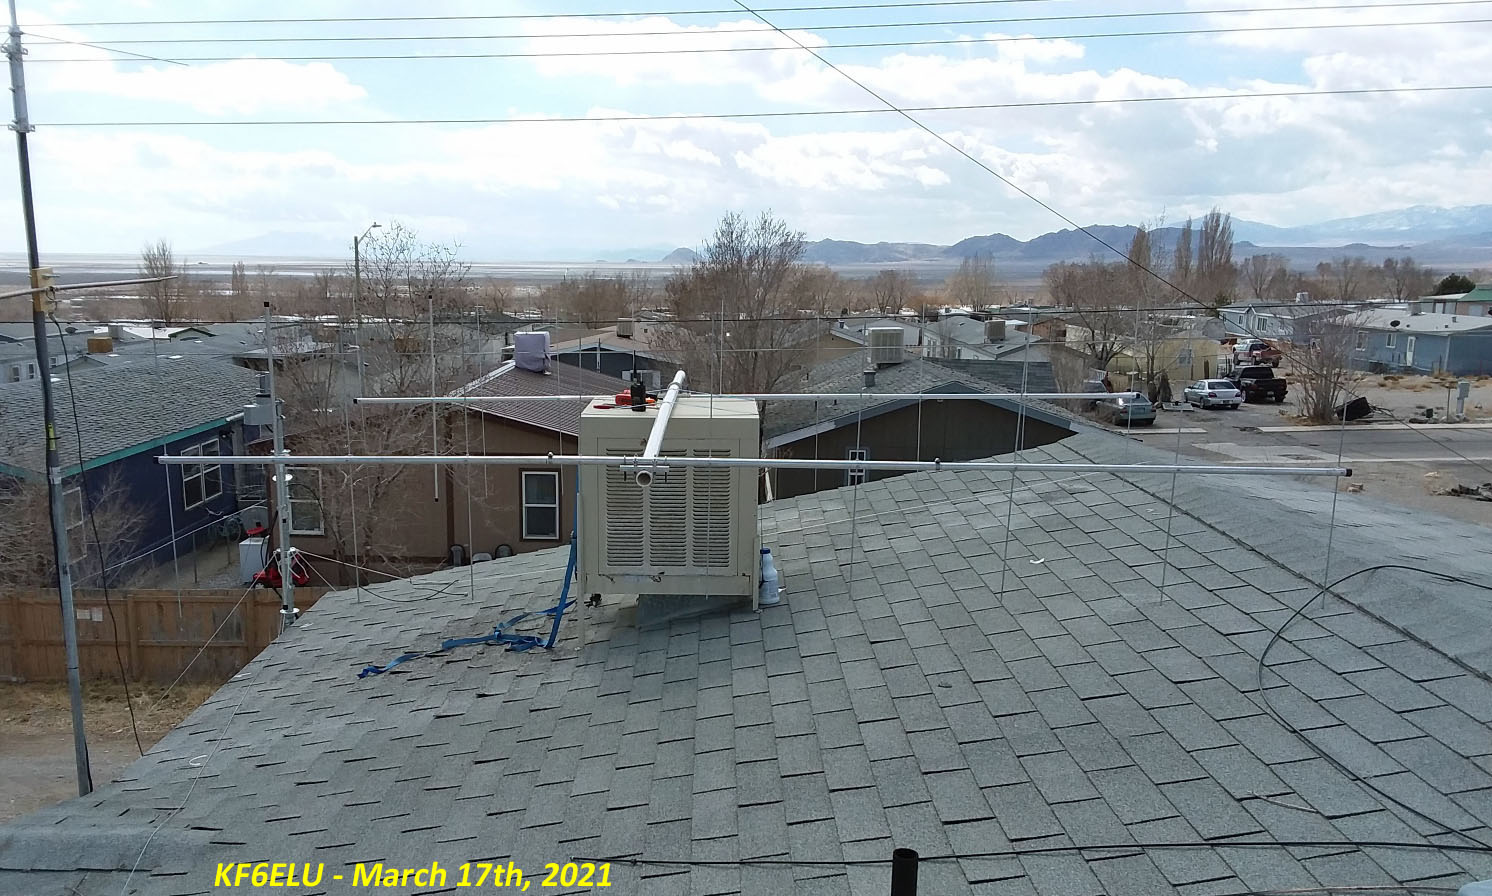
This was when I had gotton all 3 pieces of the second beam up on roof, to begin assembling to the mast. Other single beam can be seen laying on roof other side of the swamp cooler. The swamp cooler was kind of my work bench up on the roof thing. The main mast for the 2 beams was made out of 2 inch PVC pipe, with a 1 n 1/4 inch wooden round dowel put through the whole pipe, and screwed from the outside in to the wood inside for extra strength. It does still wiggle some in the winds around here, but, so far so good!
(Pic below here info)
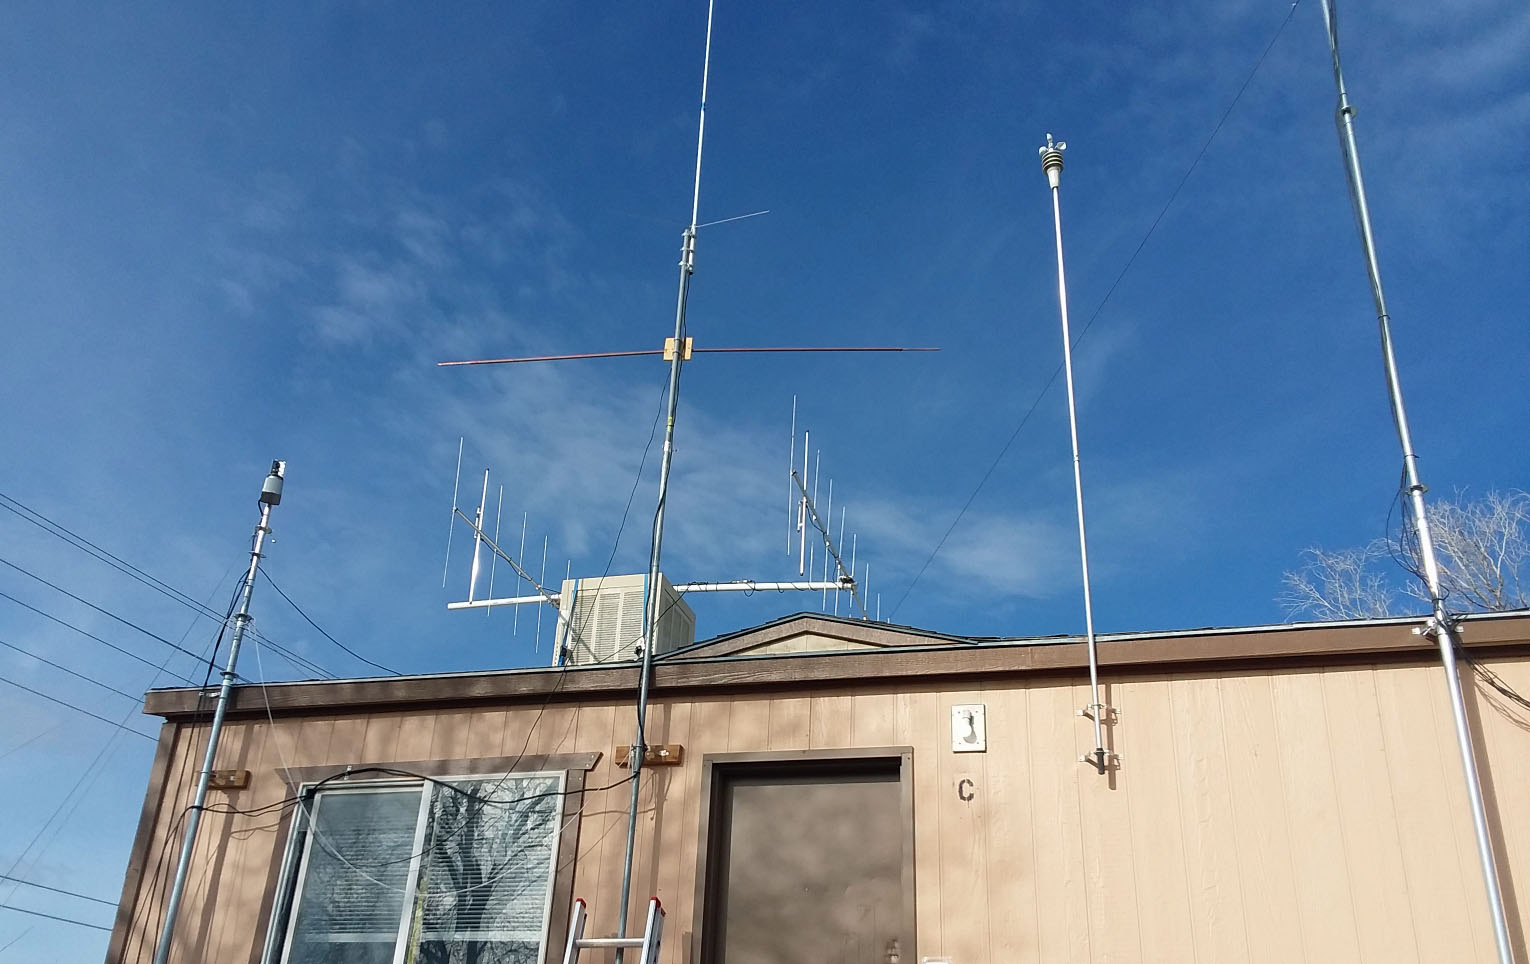
This is what they both looked like once they were mounted to the main mast. One mistake I made that I didnt realize until the next day after it was all back up in the air.. I was supposed to have 6 feet between the top and bottom beams, but I put it at 7 feet instead. Brain fart I guess! That I will be correcting in the future.
(Pic below here info)
Another view of it all from the ground below. It all gradually gittin there.
(Pic below here info)
This was view once it was placed back in the rotor. I had a friend helping me with all this. The mast was light, but very awkward to raise up and insert in to rotor. Glad I had the help. One thing that I did do this time around, I pinned each beam, and the mast to the rotor so that any winds or whatever, would not throw anything out of alignment!
(Pic below here info)
This view from the ground when I first started pushing the thing back up in to the air. Its one of those telescopic mast that I use. A real 3 legged tower would be nice, but a little too pricey for me right now! One of those crank up towers would be ideal for an old fart like me.. HiHi !

(Pic below here info)
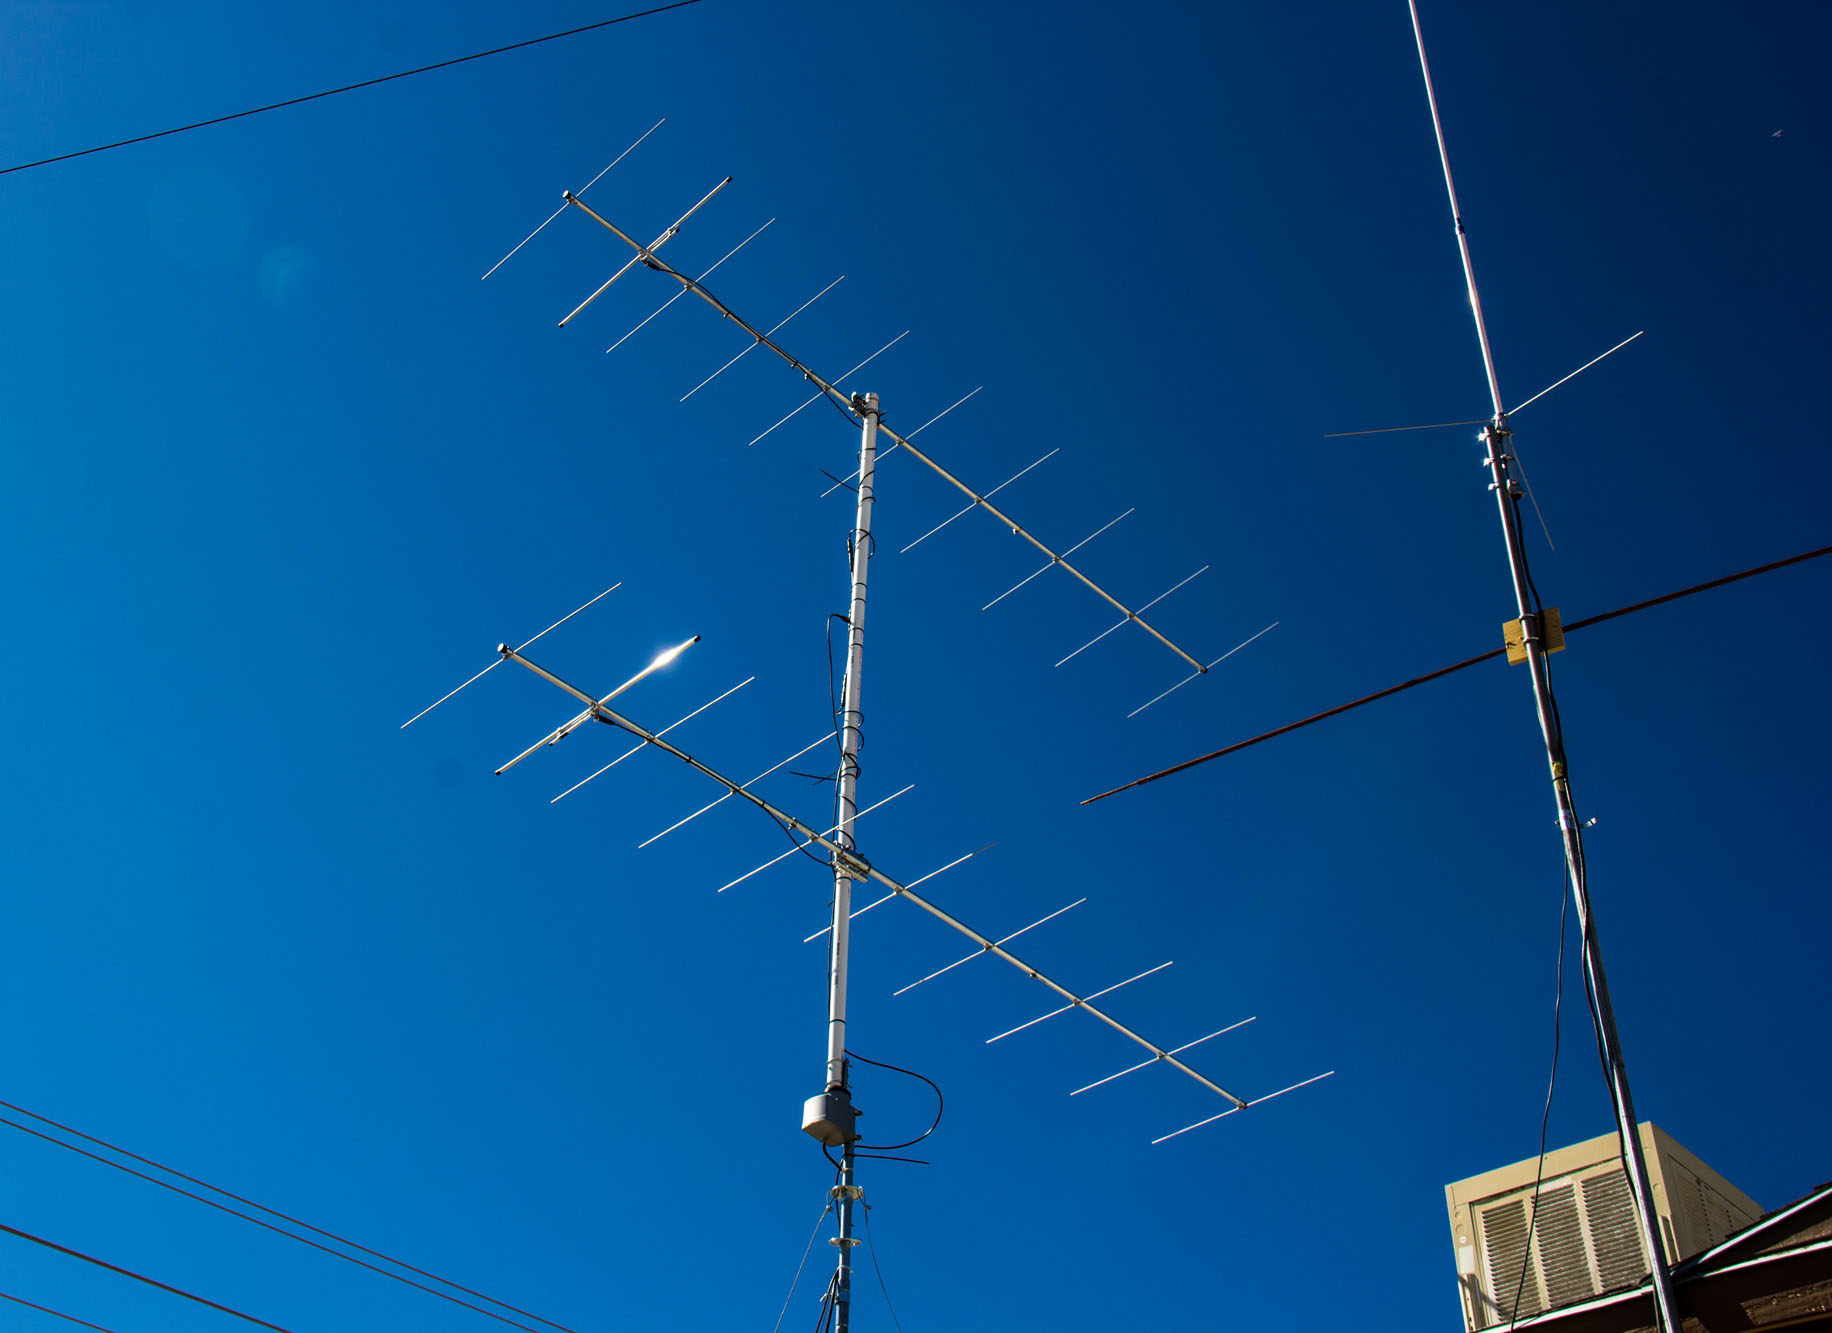
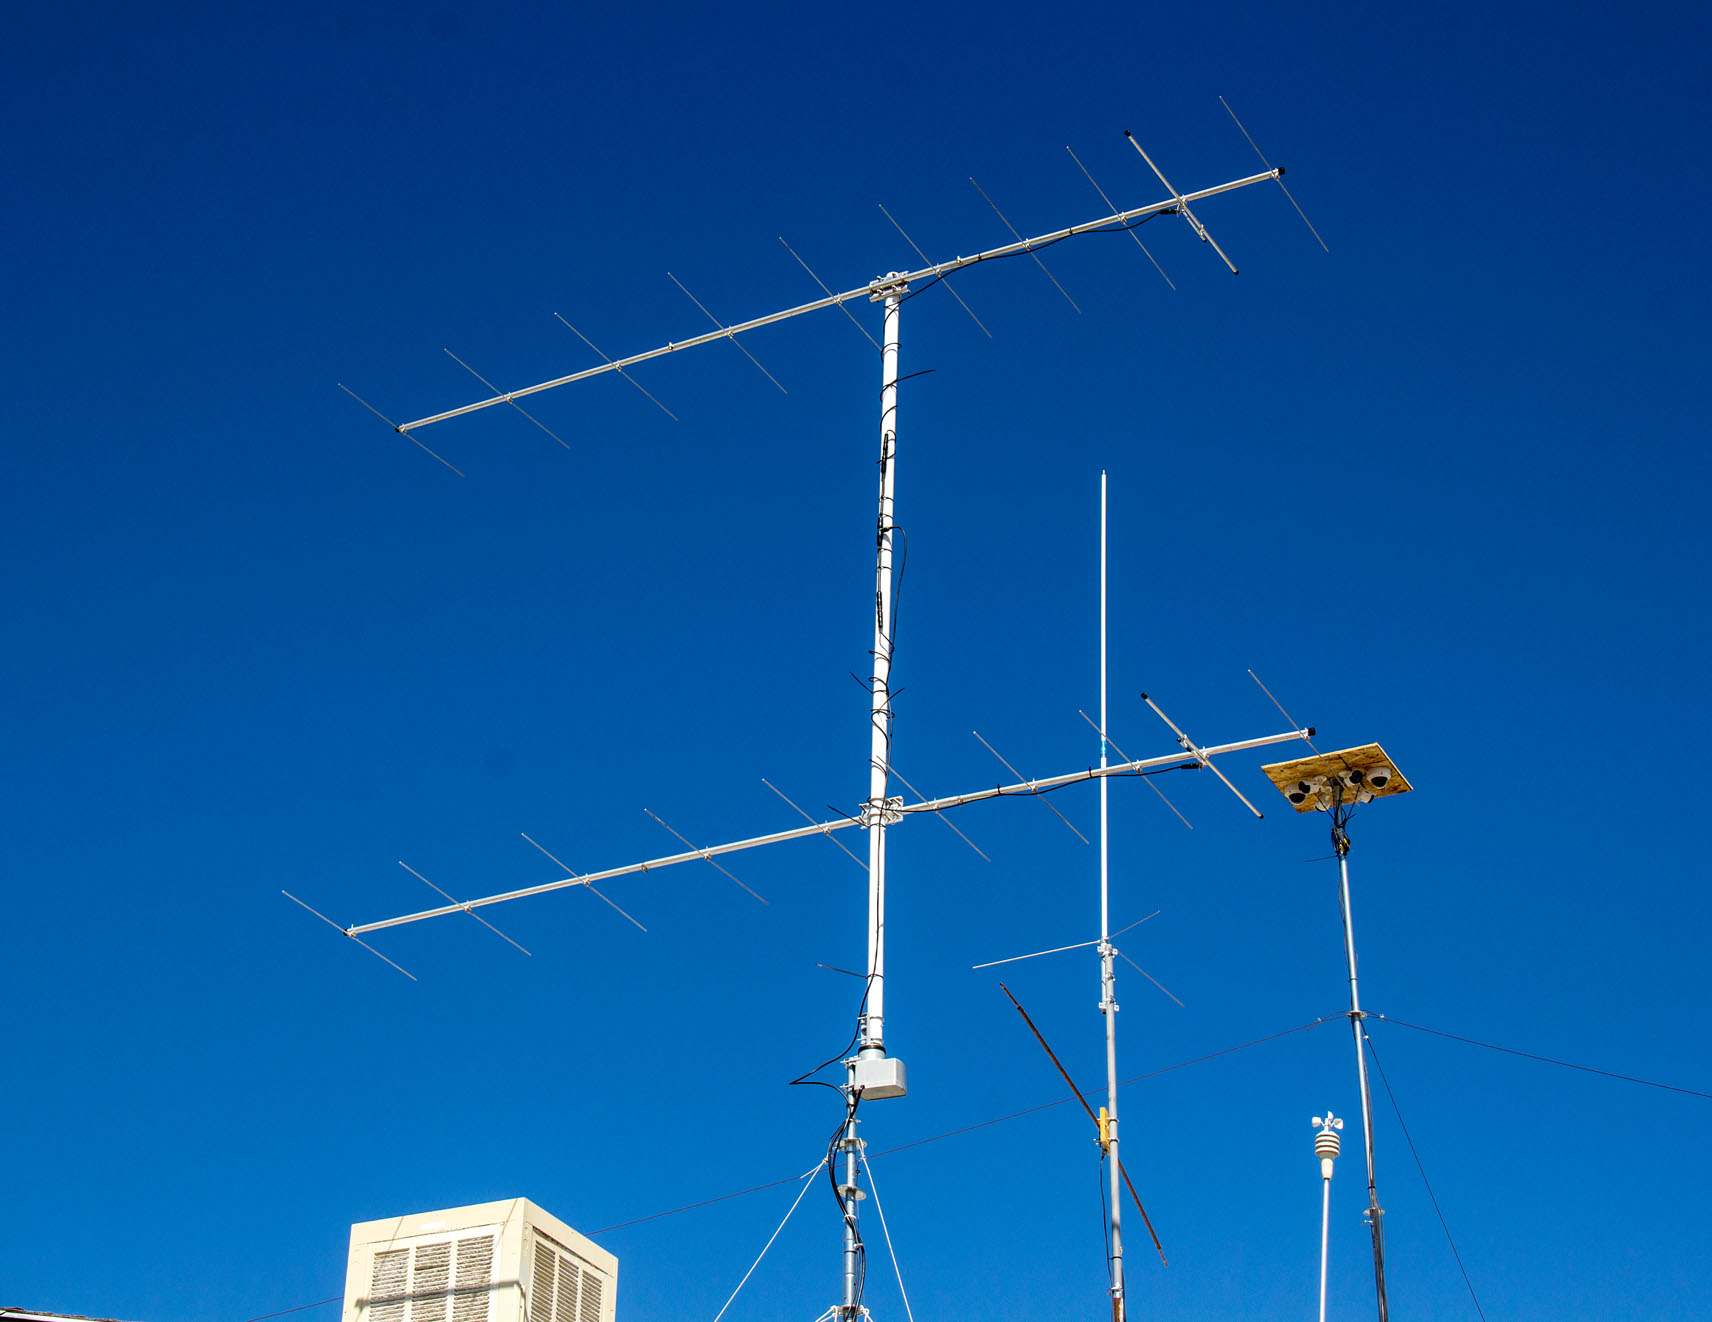
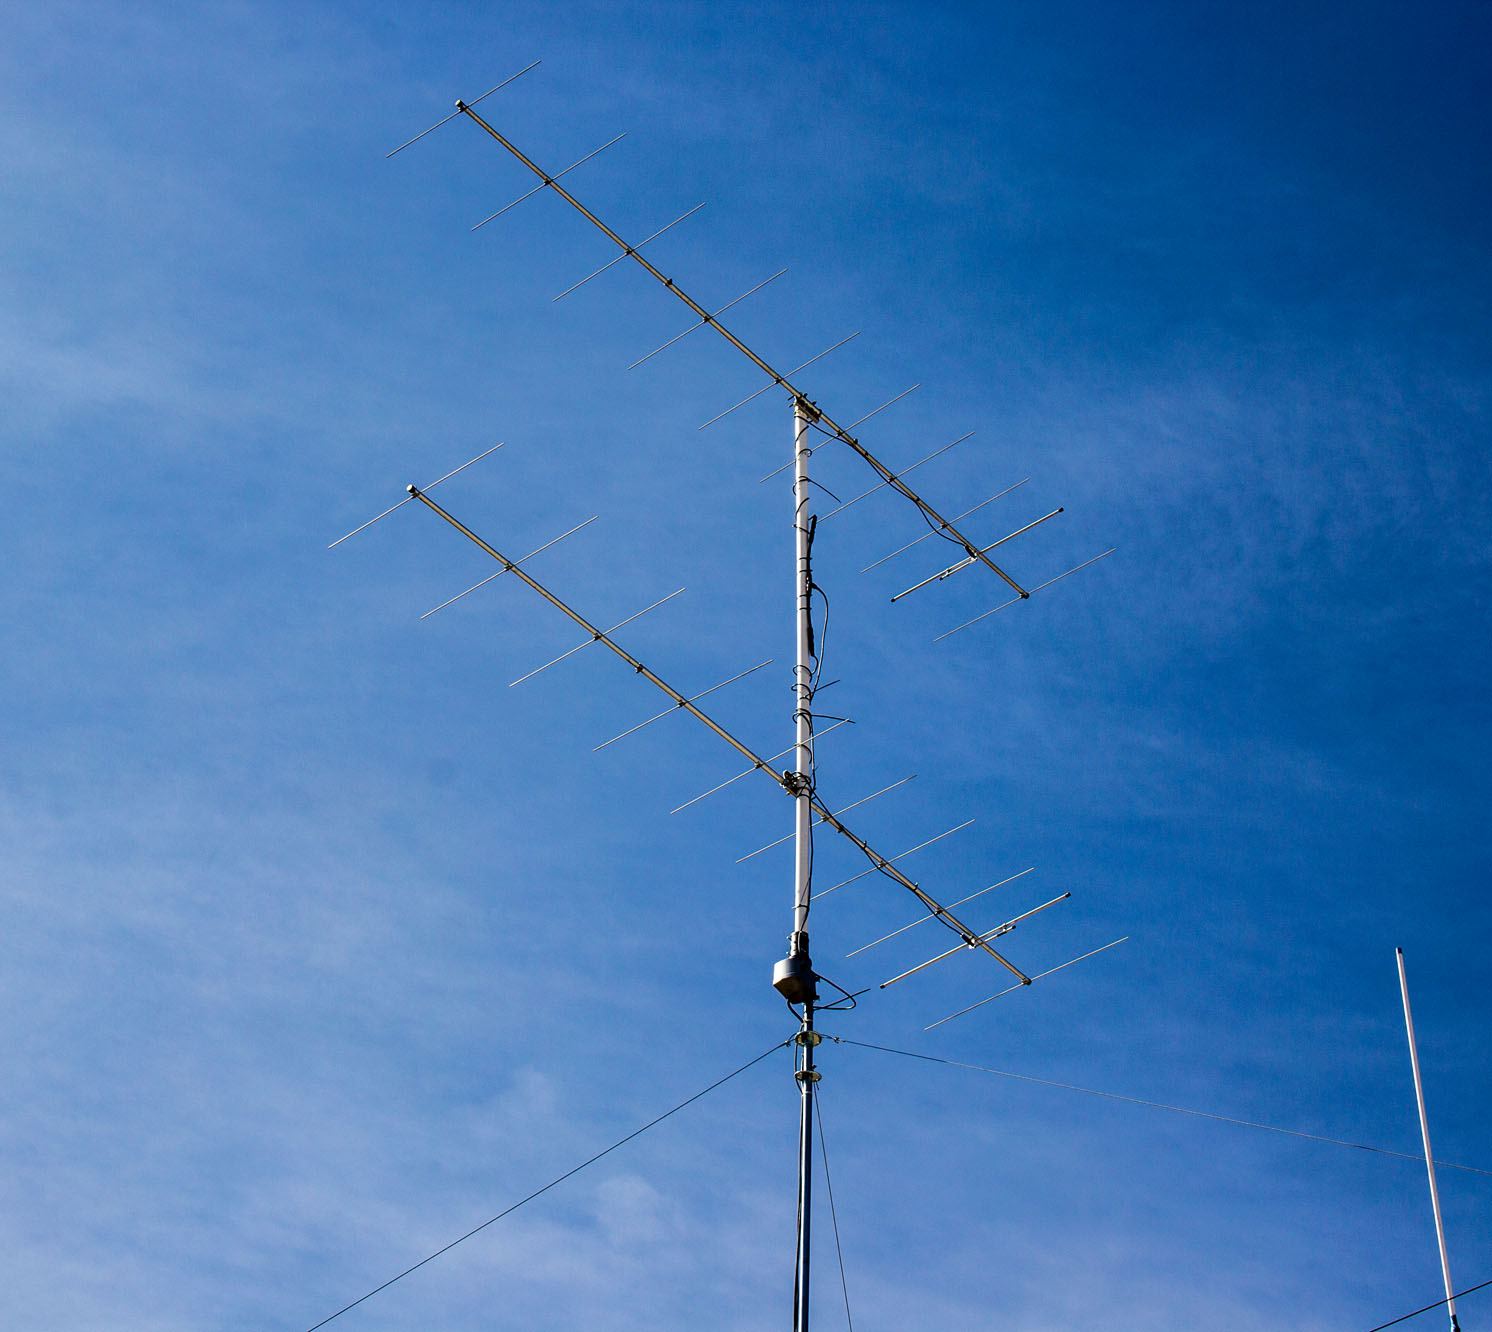
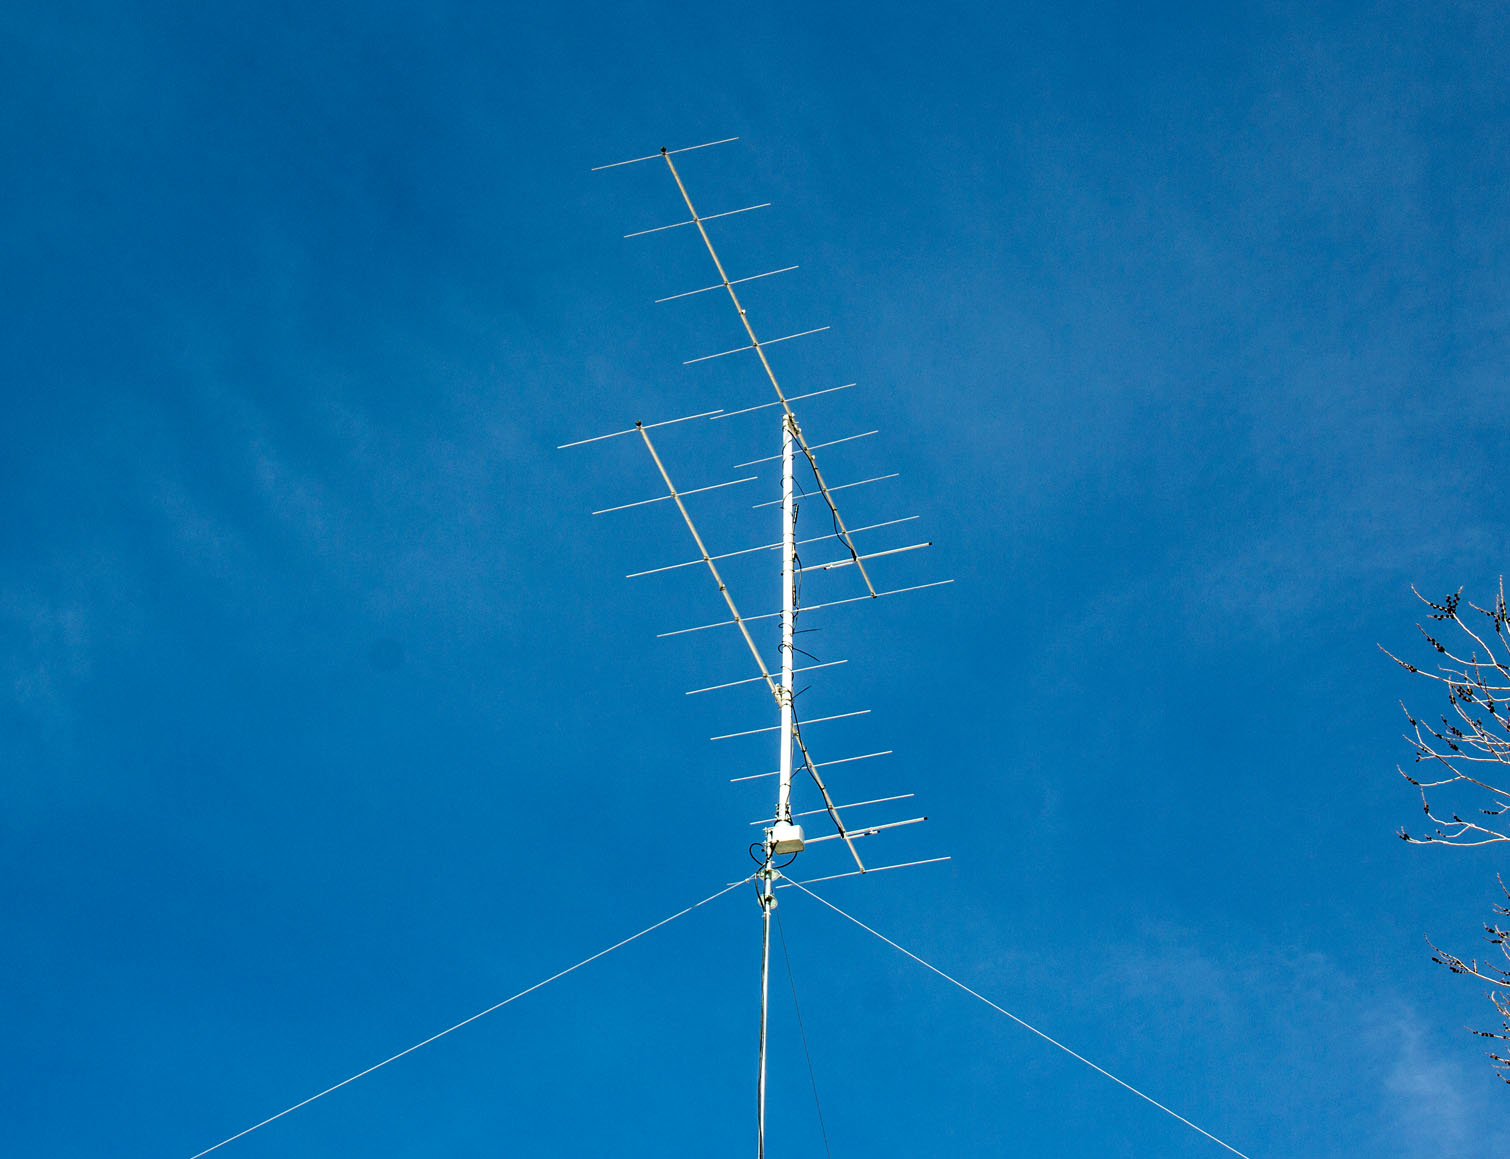
A from the ground closer zoomed in view of both the antennas together. **One thing that I did not realize until a few days later when I went to use the antennas, if you notice, the beams are mounted on opposite sides of the mast, and also, the driven elements energize on opposite sides of each other. Come to find out, that with the beams that way, they do not phase properly together! What a bummer that was when I went to use it! This problem IS getting corrected as soon as possible too!! Due to the fact that this is the first time that I have ever stacked 2 beams together, I was not aware that they had to be mounted identically to operate properly! Live and learn the hard way I spoze.
**Special THANKS to my radio friends, NR7T and KV7V for their input and advice about the mess up I did and how to correct it!**
(Pic below here info)
Ground view looking up at them again.
(Pic below here info)
Just zoomed in a little closer with my real camera instead of using a lowzy cell phone to try and get good photos. Same obvious screw ups on the mounting can still be seen though. (Now that I know what to do and what to look for if I ever do it again).
(Pic below here info)
This was early the next morning before antennas were all the way up. I decided to take a photo in the dark with flash on. Just fer funz.
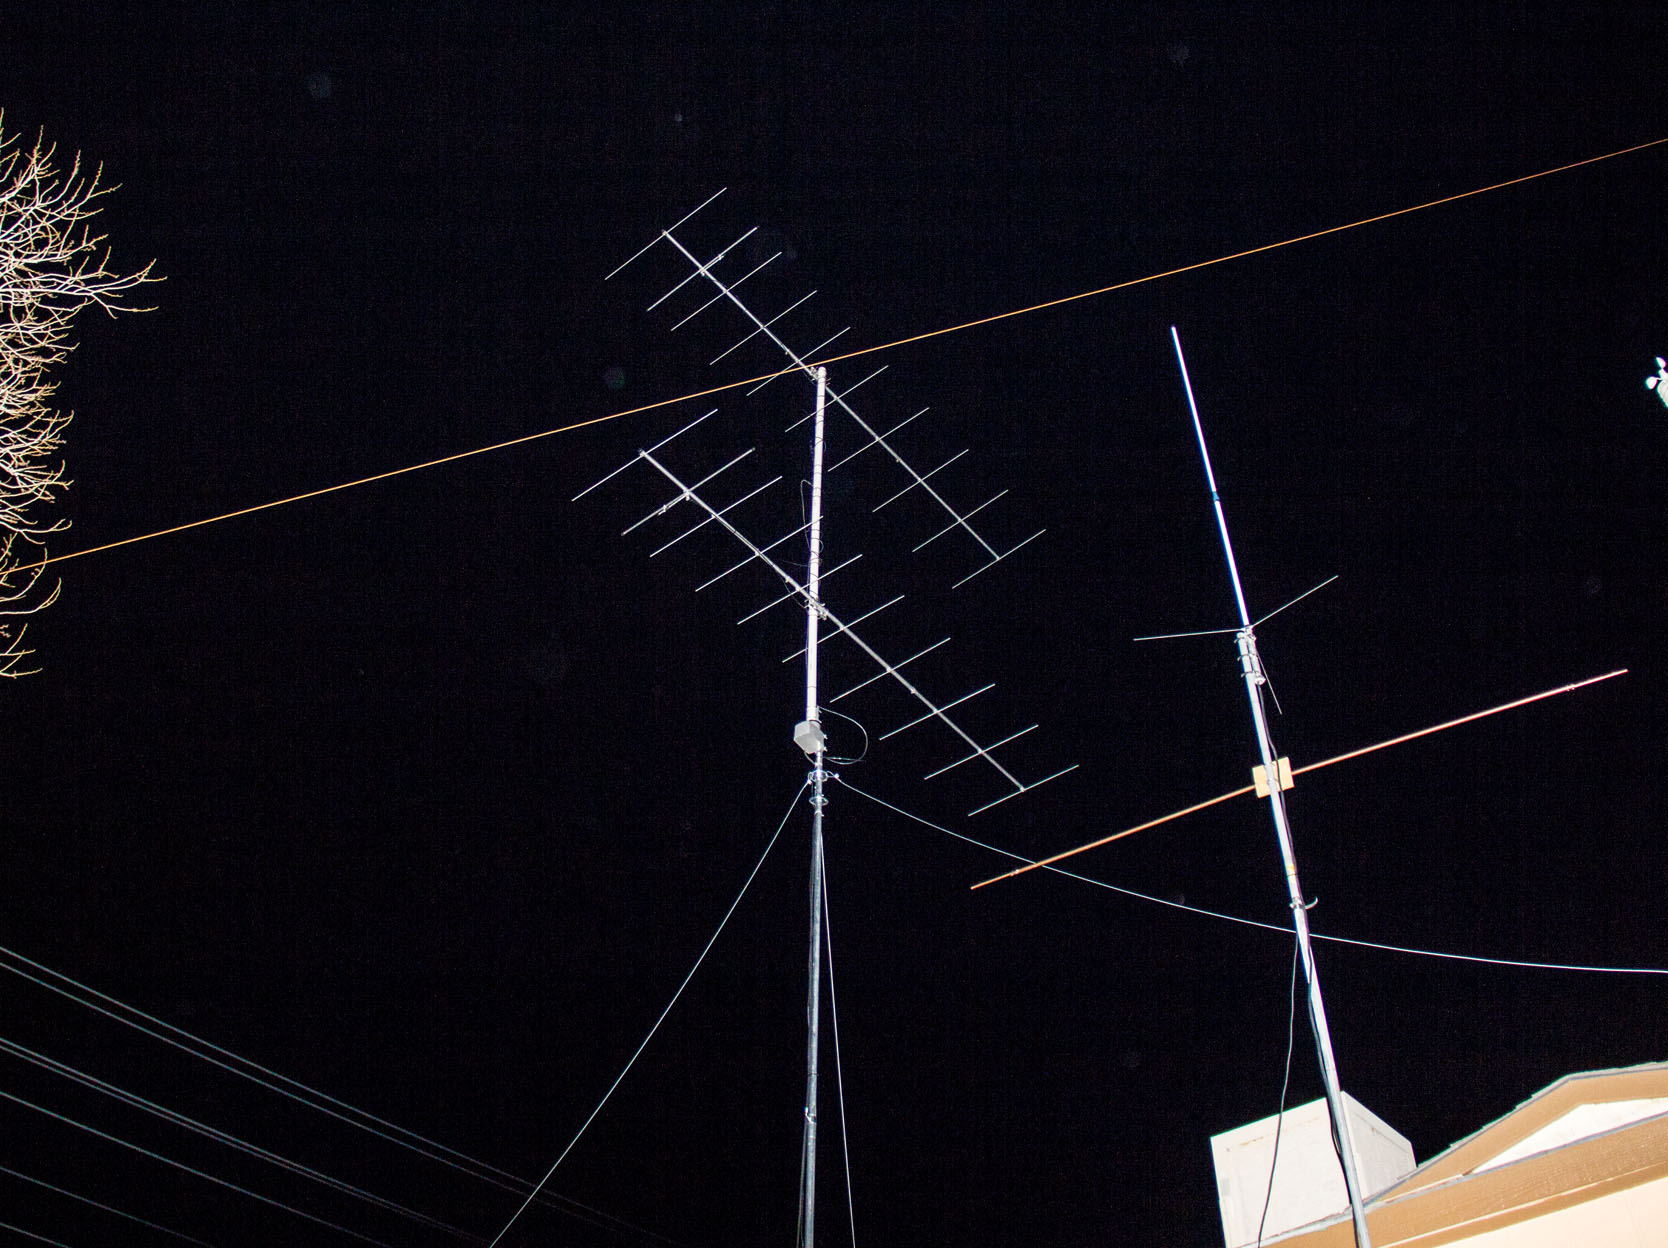
(Pic below here info)
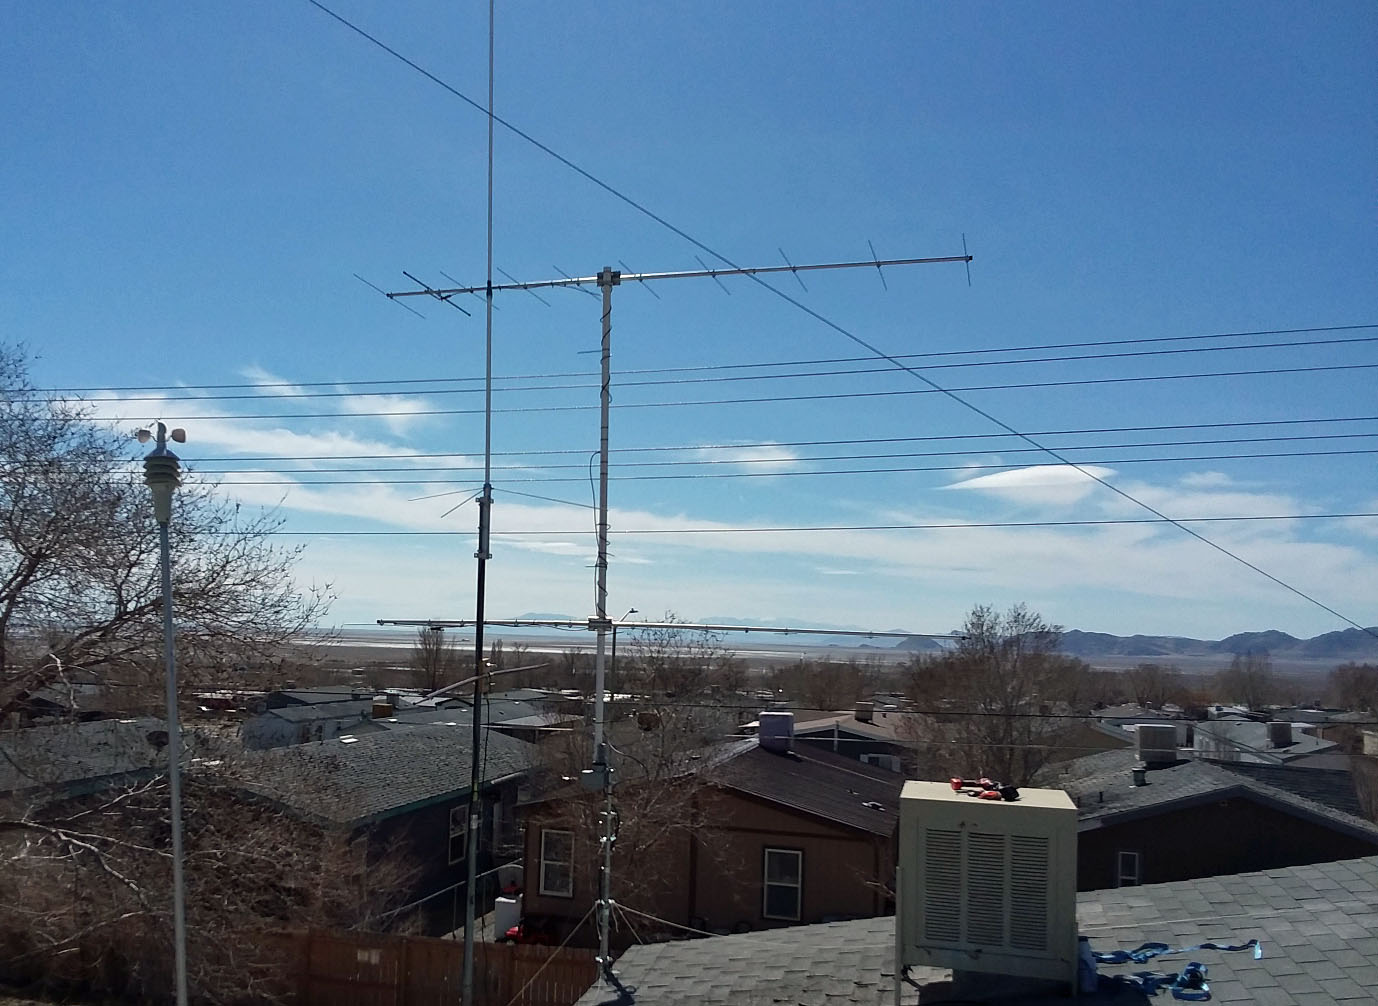
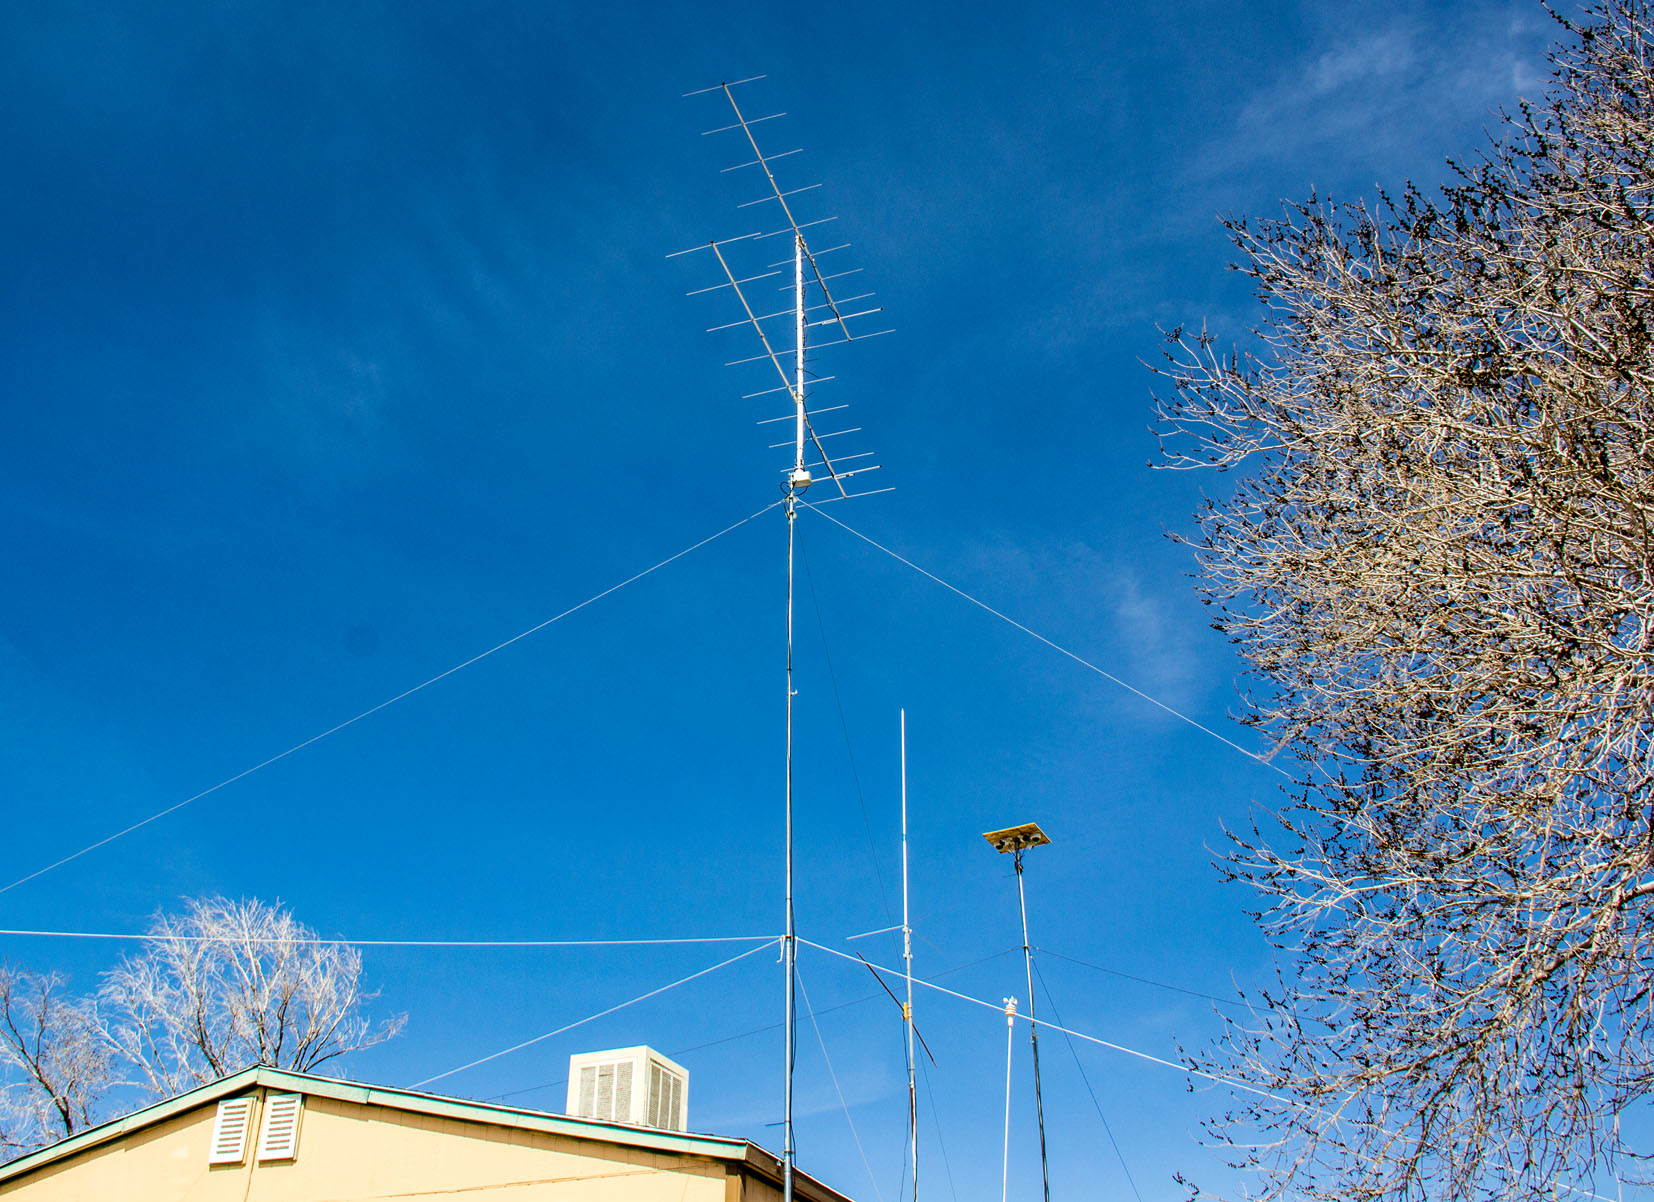
This was when I had finally gotton them all the way to the top where running them would be at. They are running between 43 and 50 feet above ground.
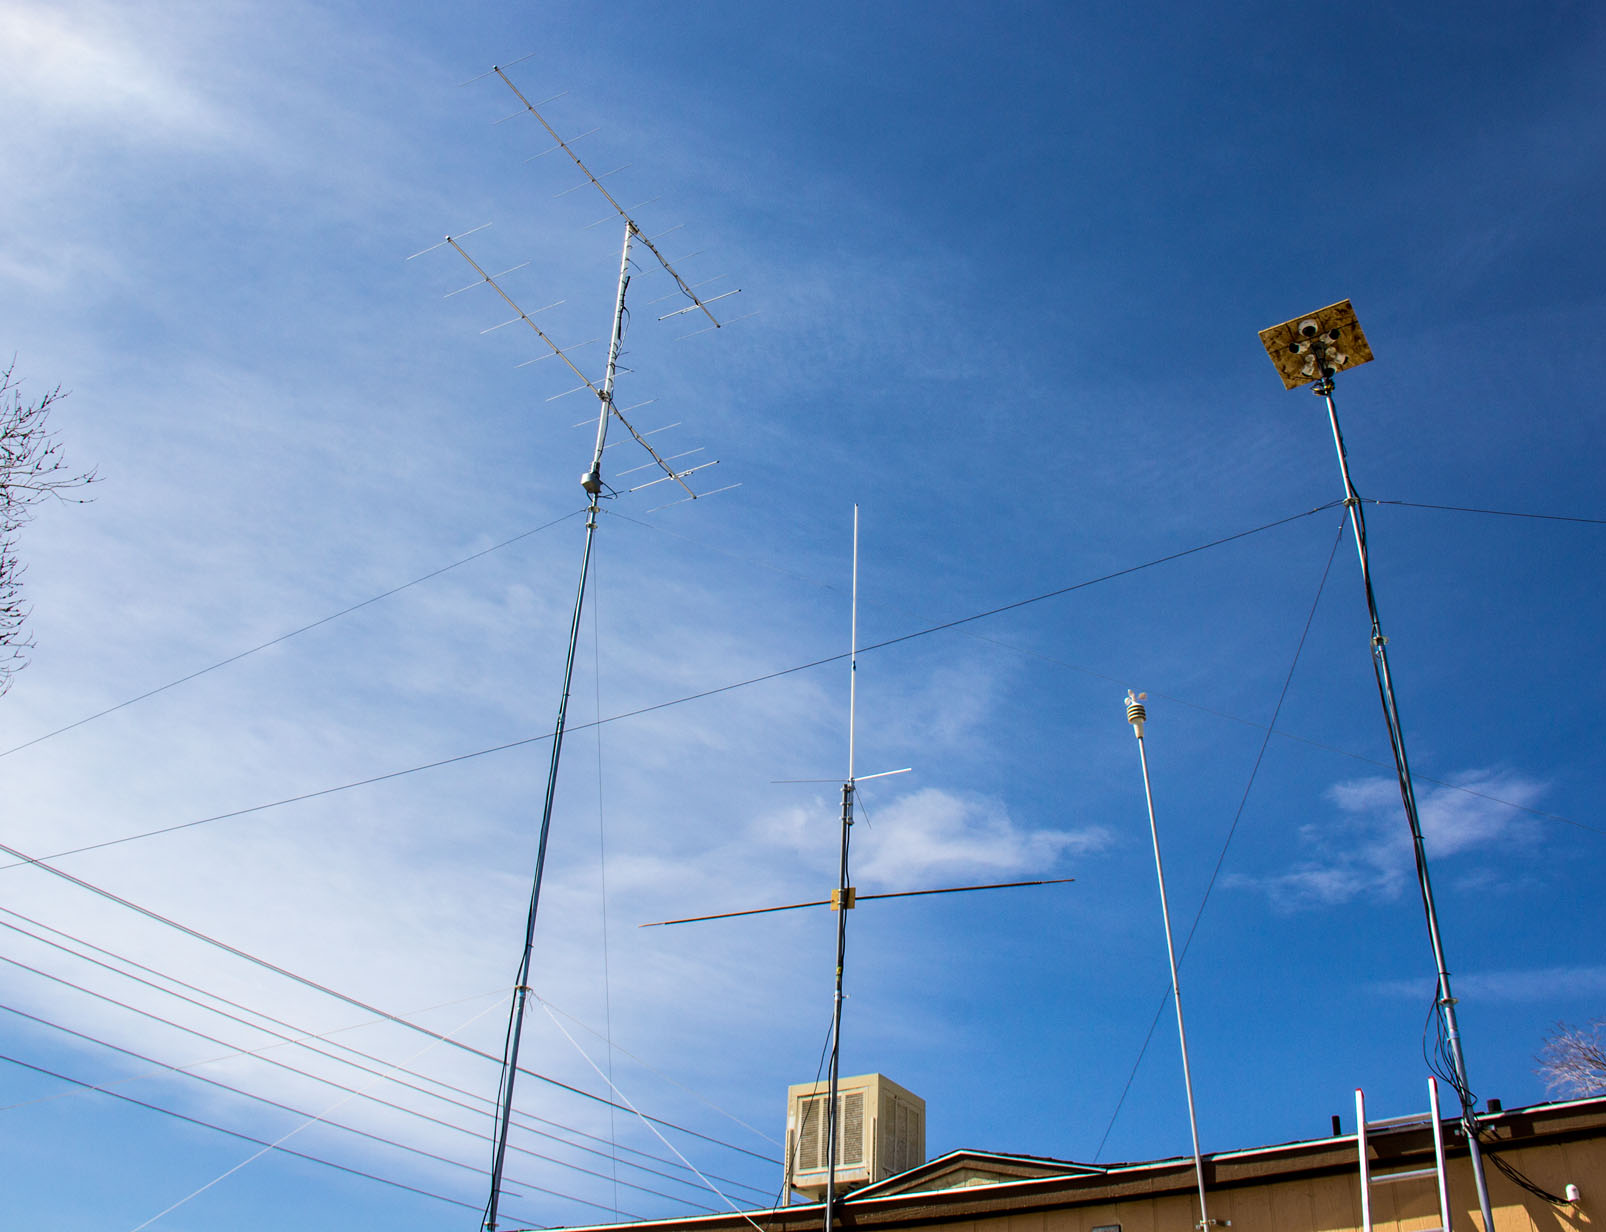
(Pic below here info)
Just a zoomed in view of them up at operating elevations.
(Pic below here info)
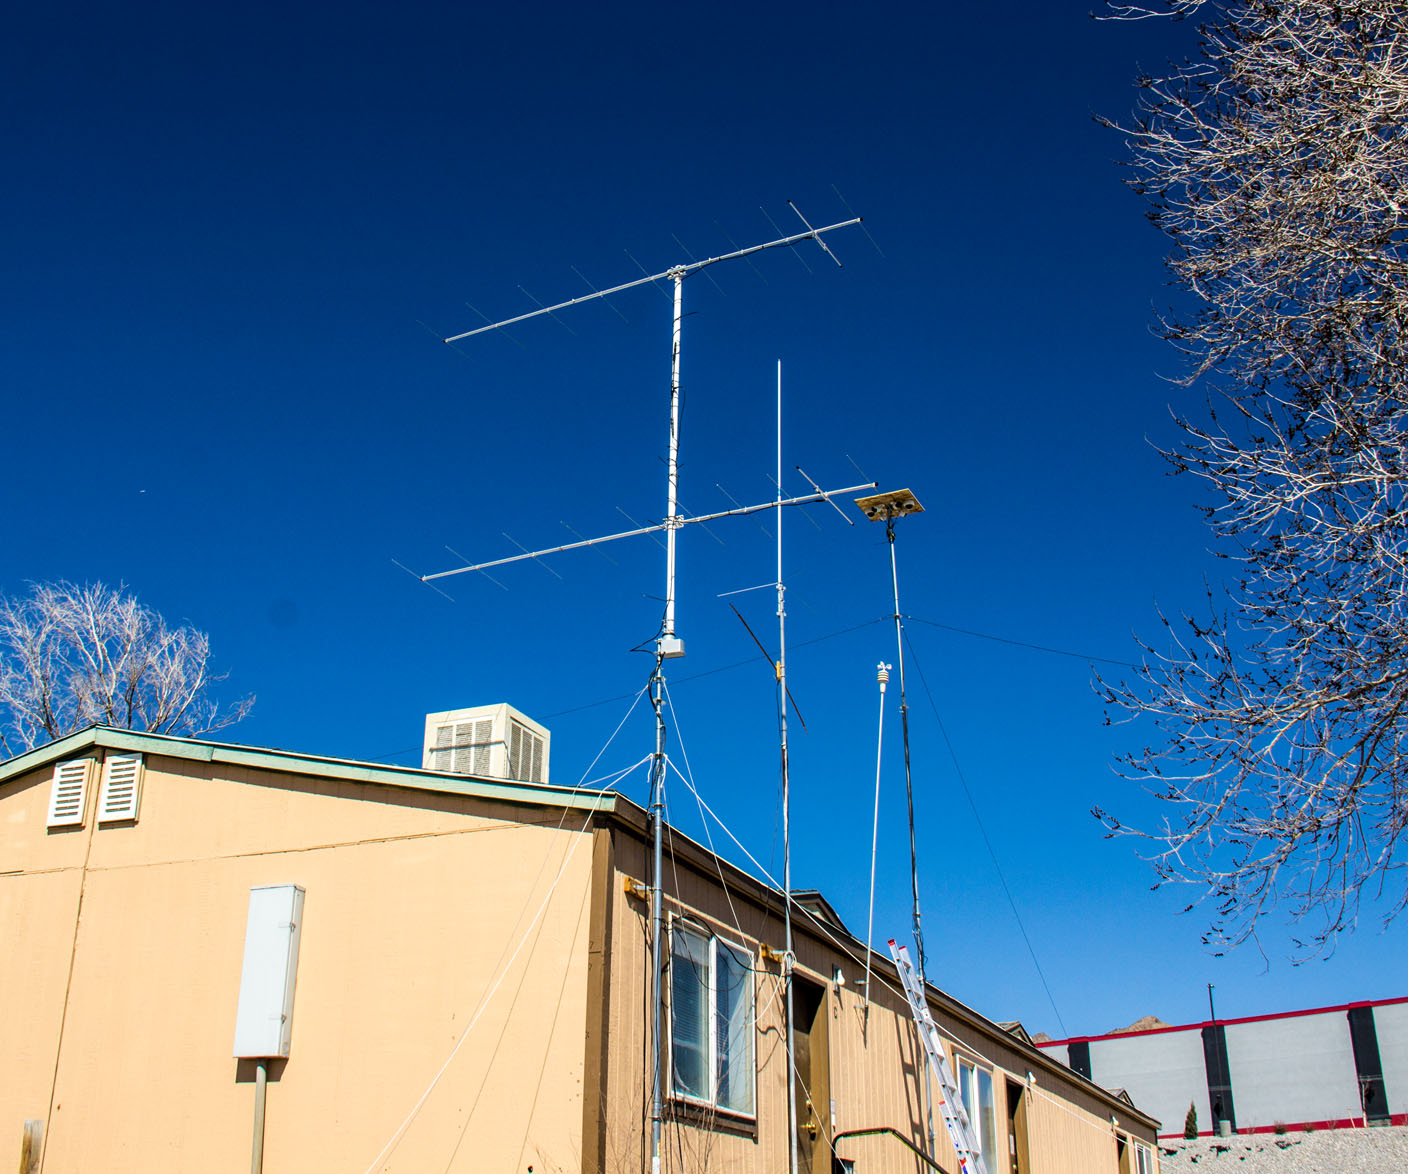
View up from the ground at the whole thing.
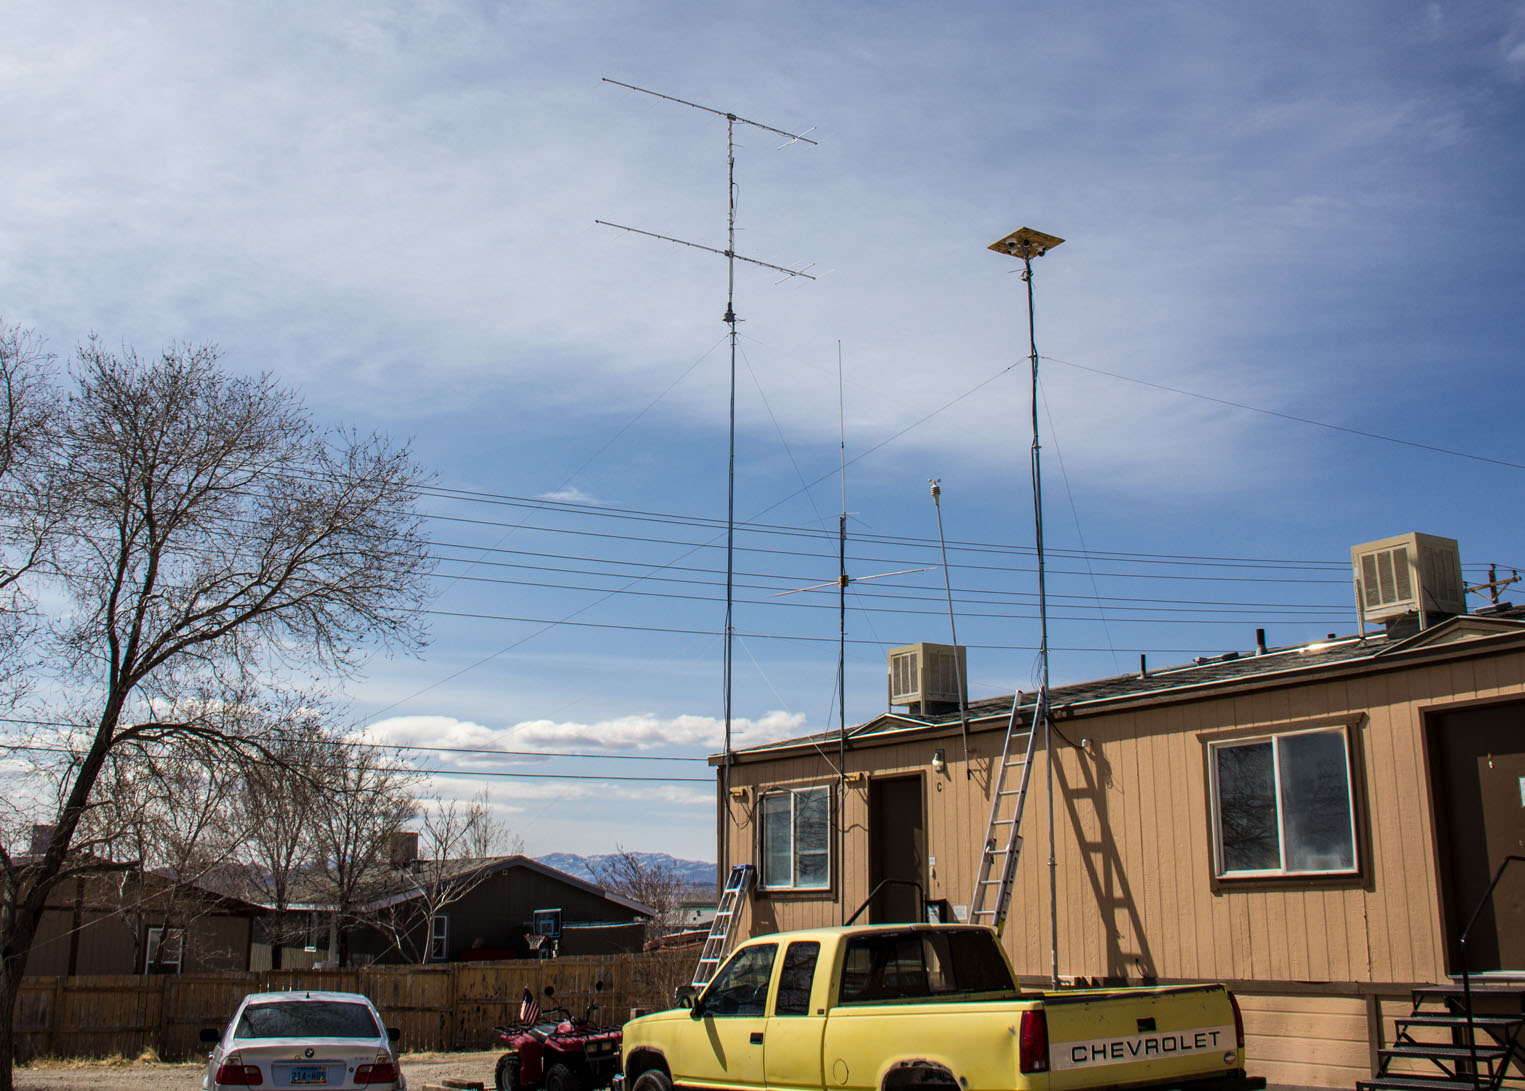
(Pic below here info)
Another view from the ground up at the whole thing, but zoomed in a little bit.
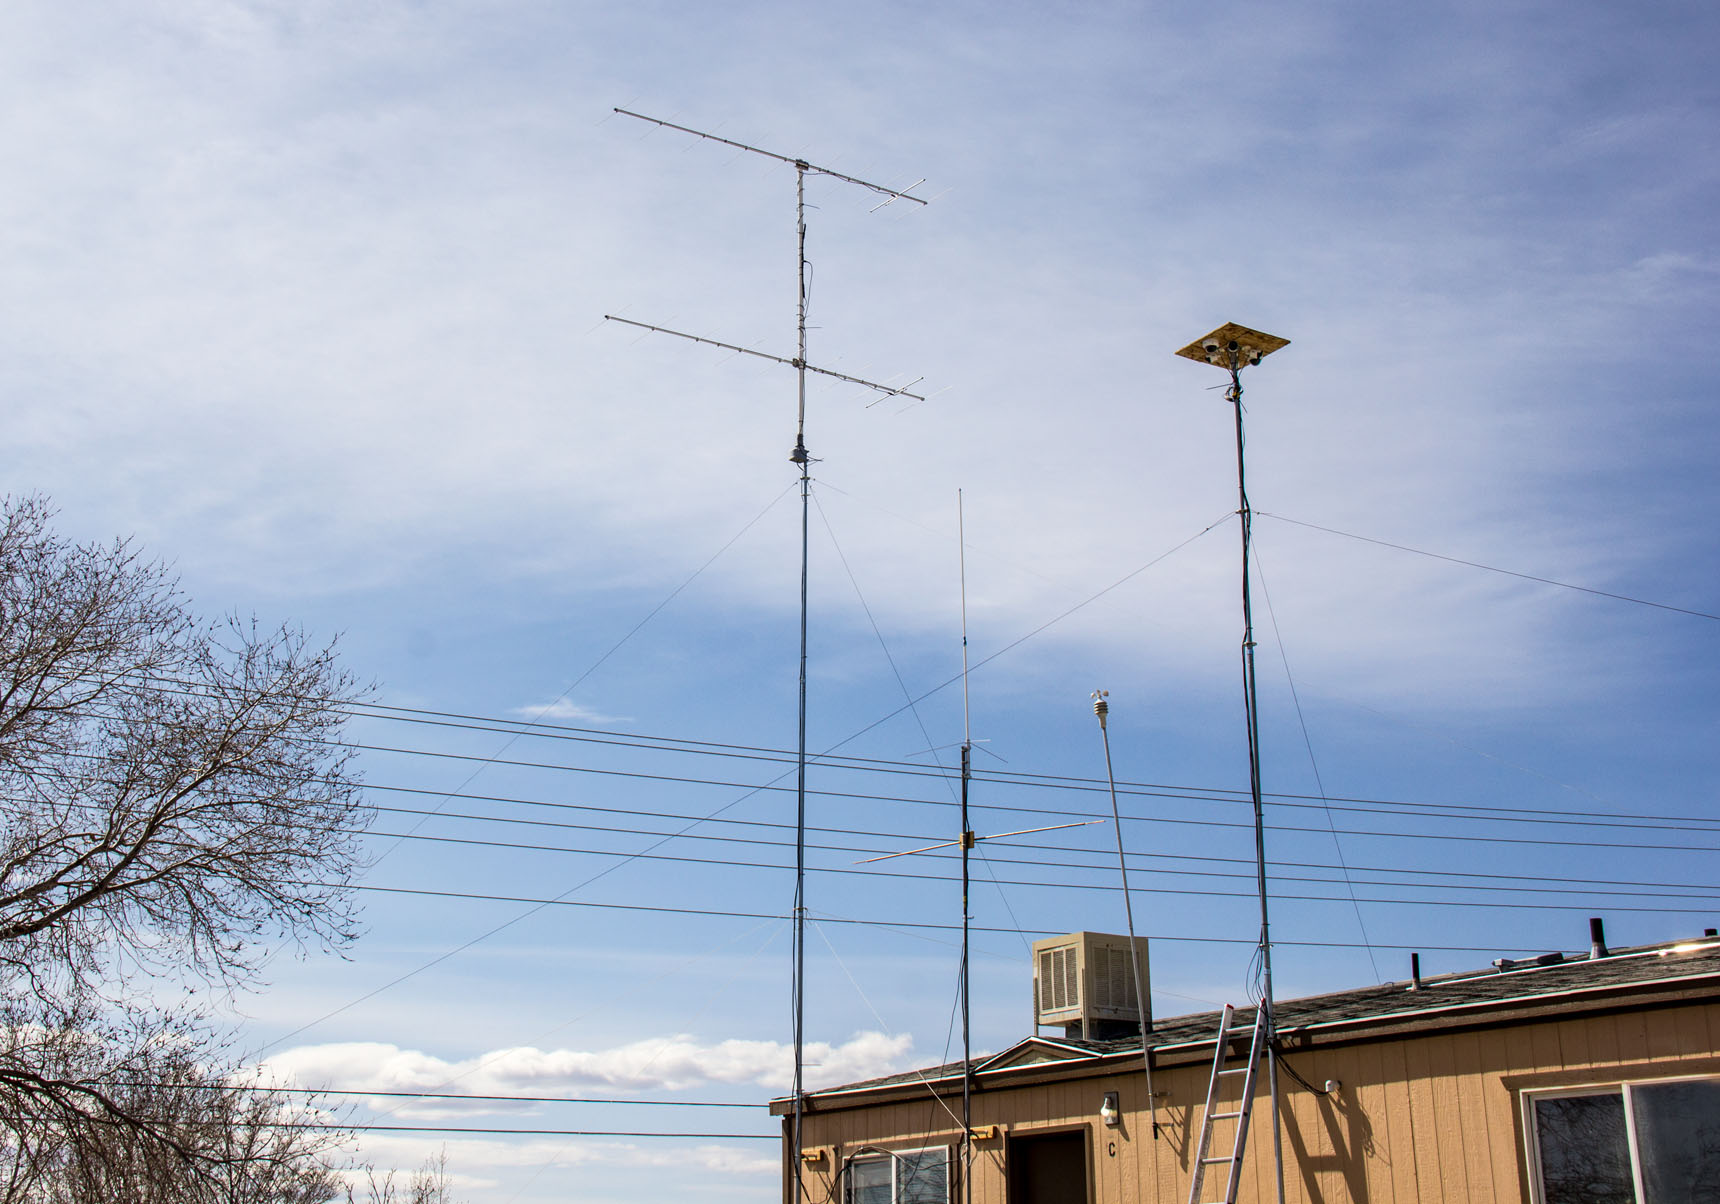
(Pic below here info)
From the ground looking up from almost underneath the whole thing.
(Pic below here info)
Another one with my front door included.
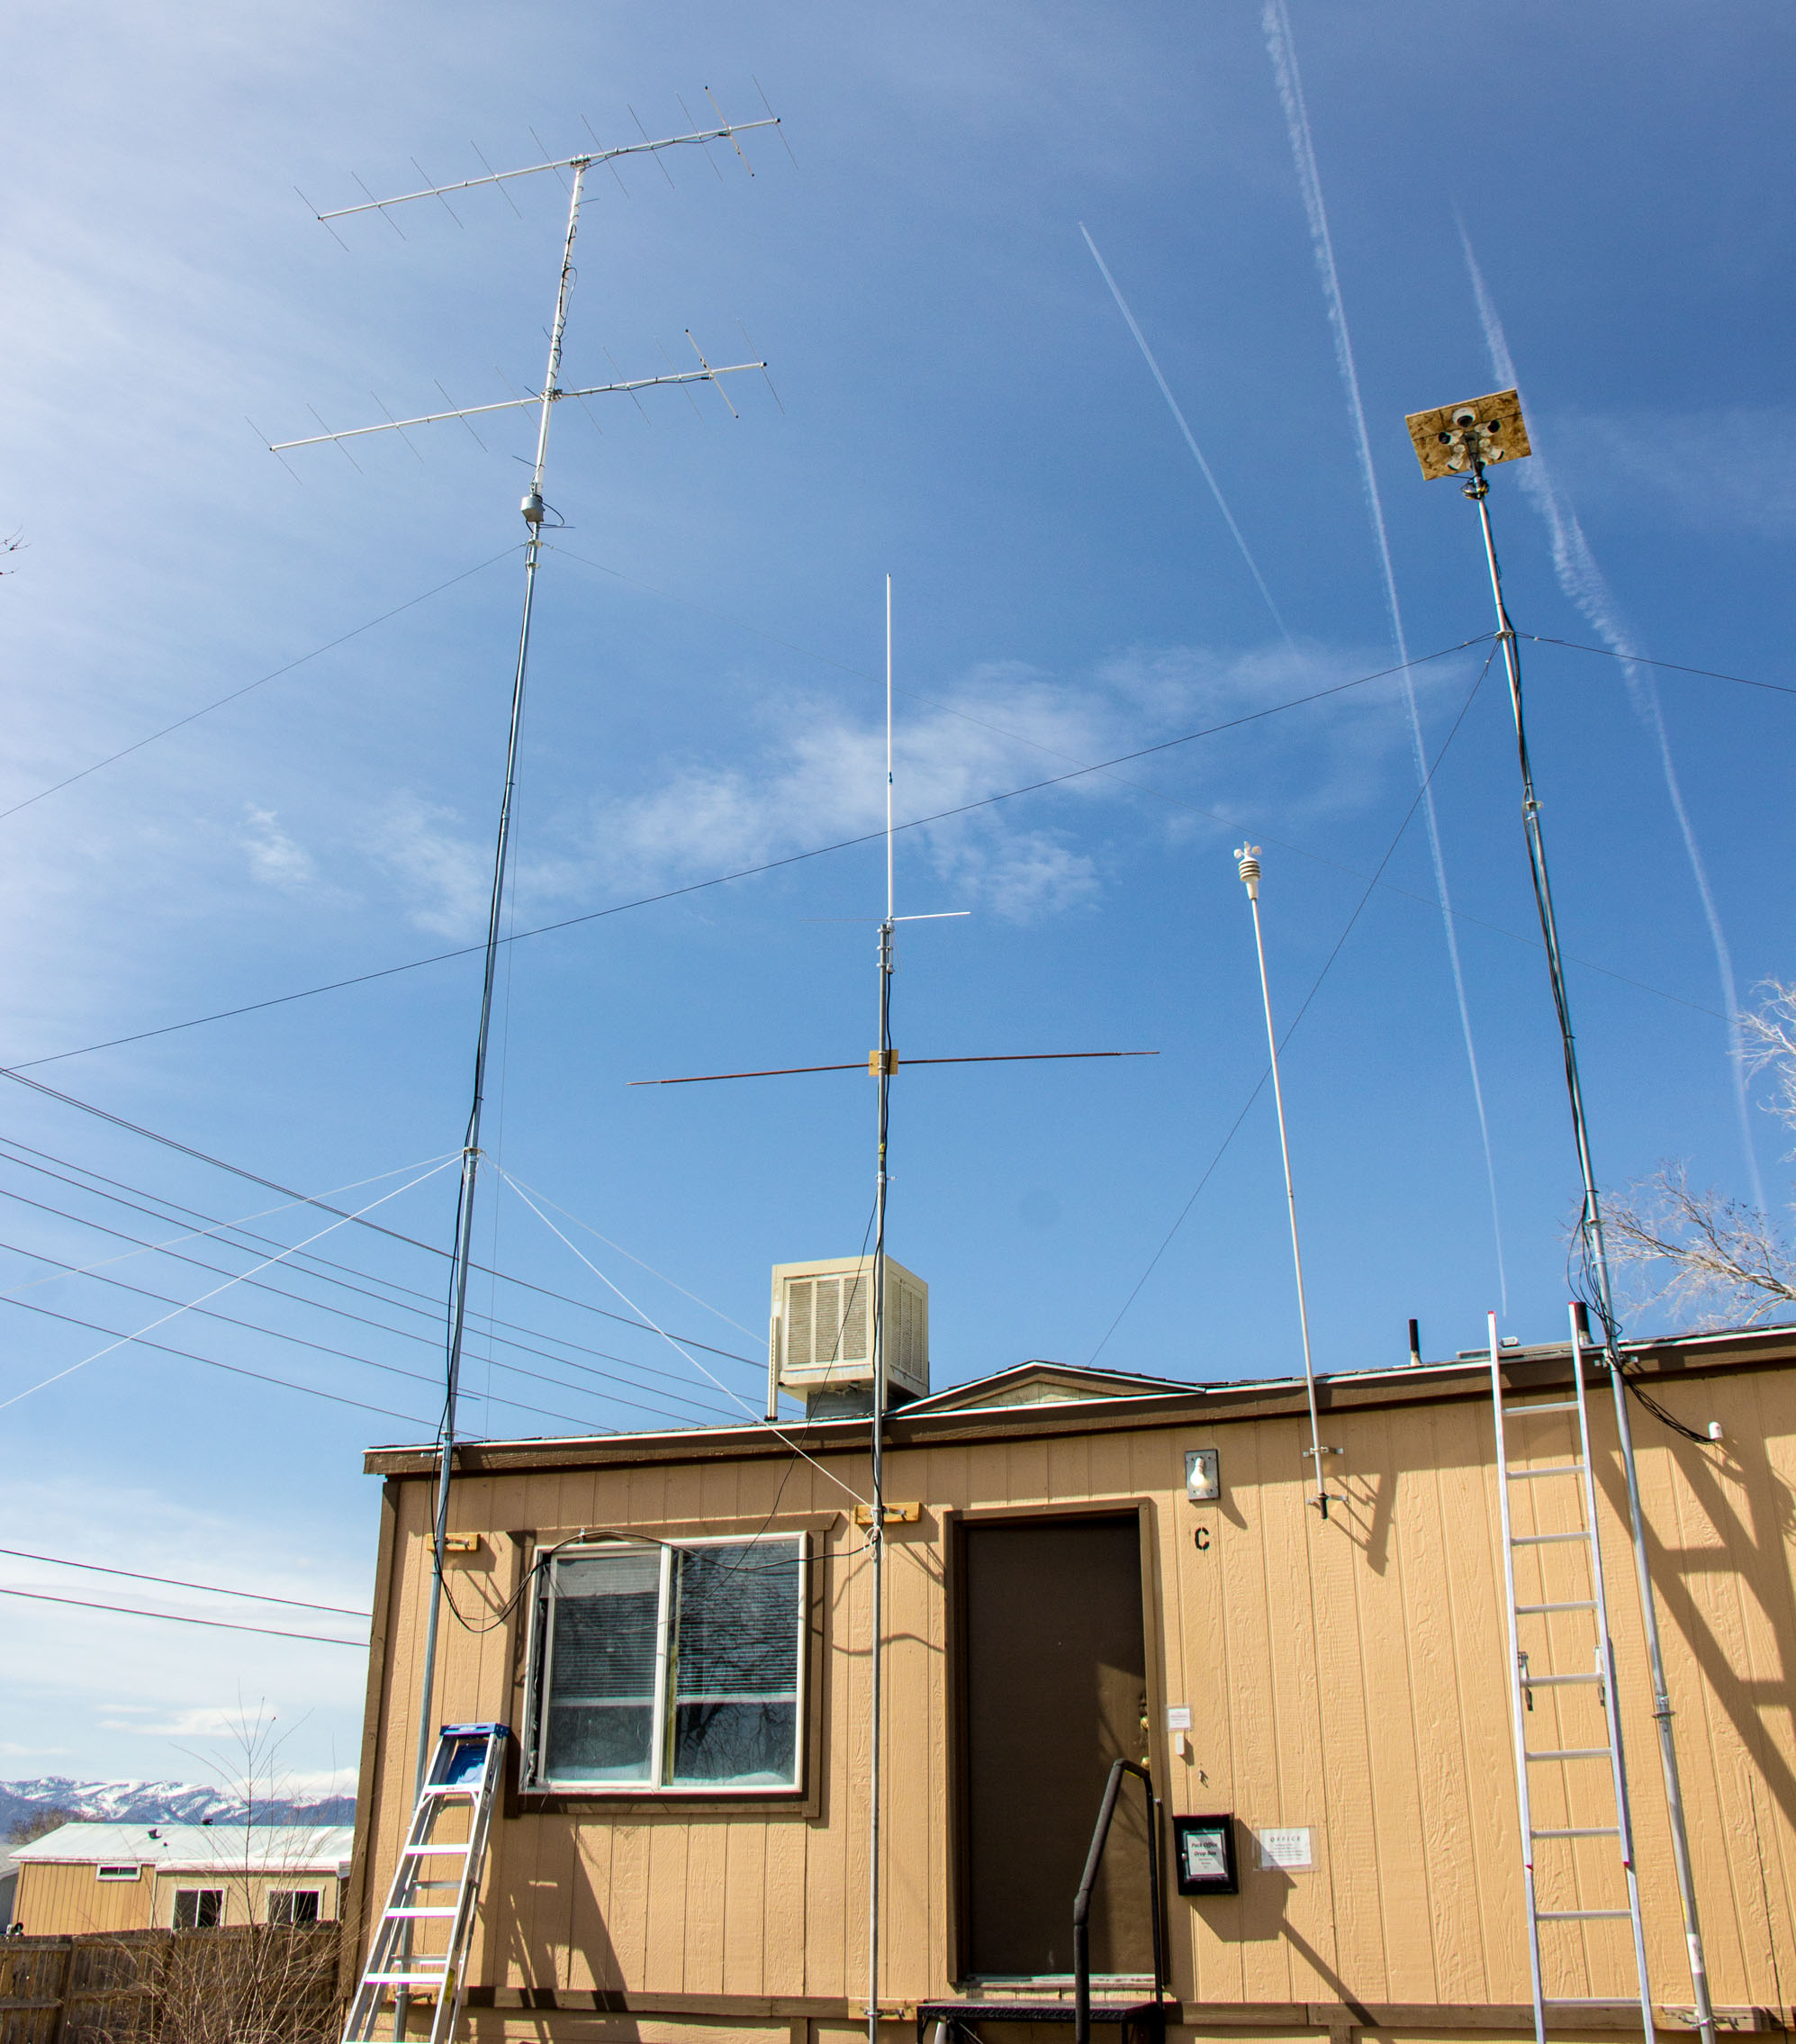
(Pic below here info)
Another view up from the ground lookin.
(Pic below here info)
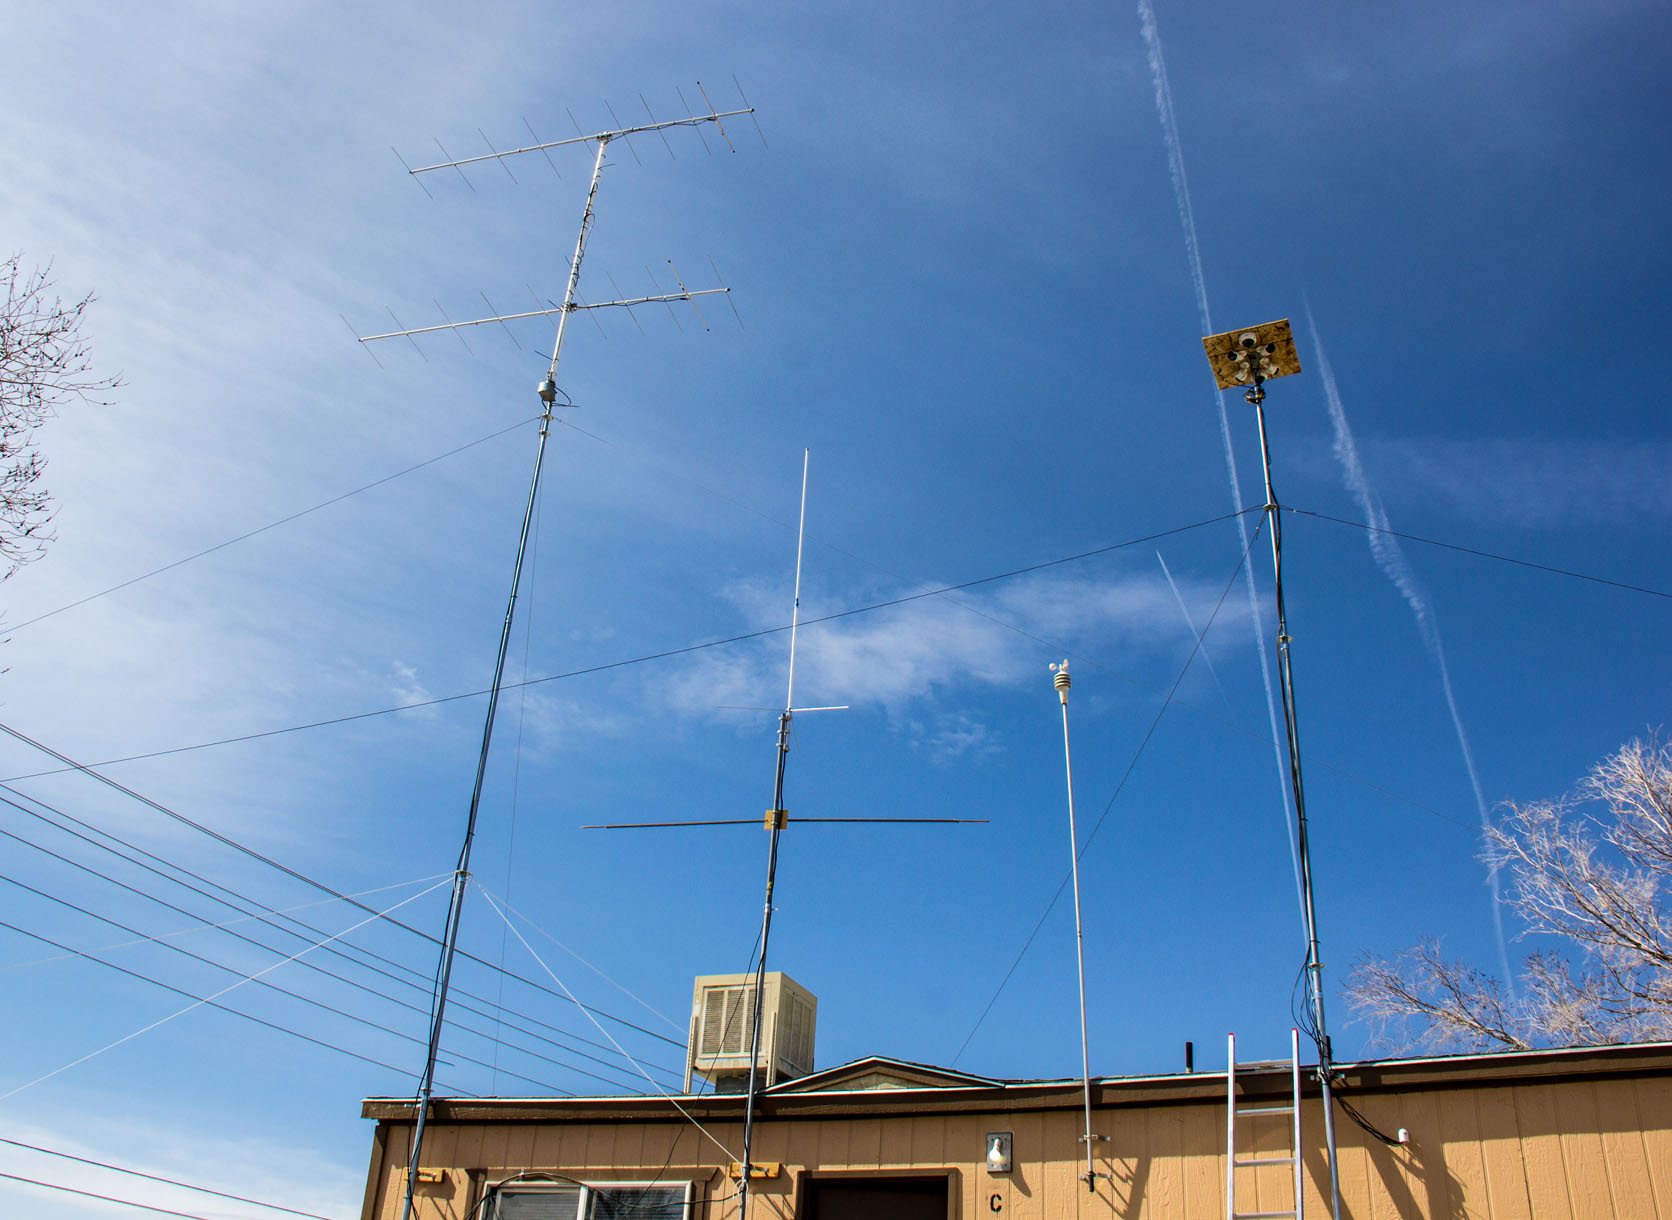
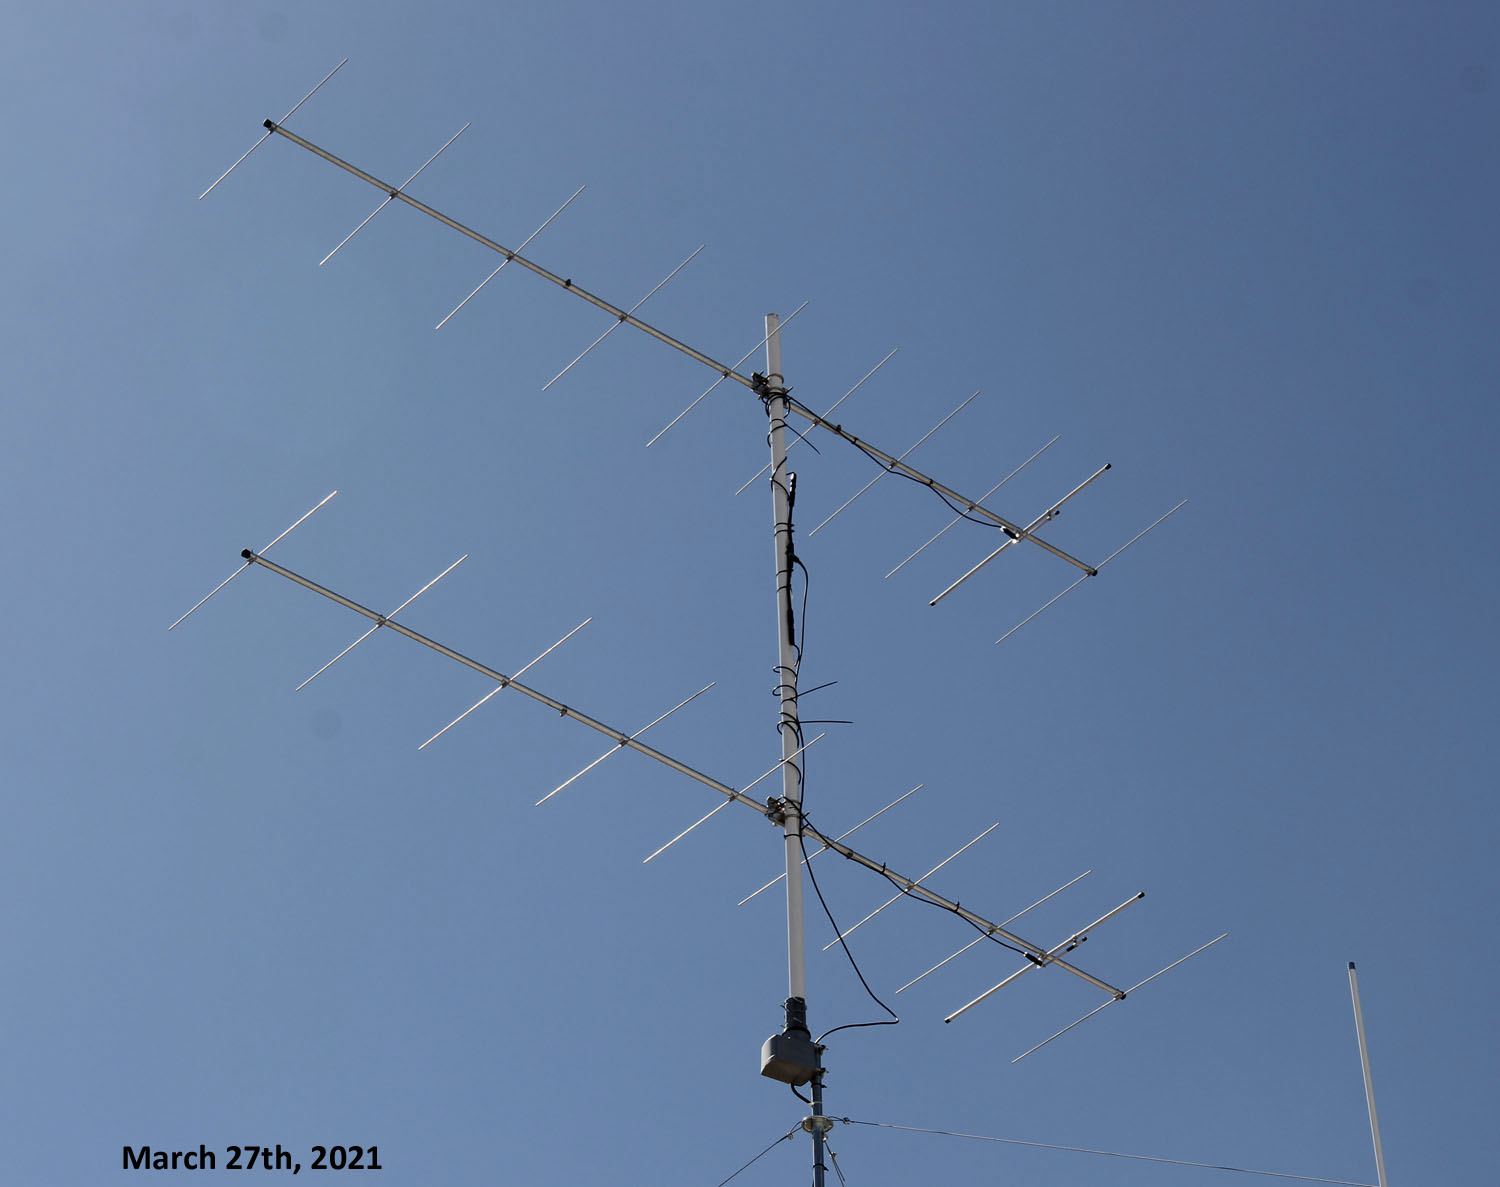
Zoomed in looking up from the ground. ALL mess ups that I did to the 2 beams, WILL BE FIXED as soon as possbile!
(Pic below here info)
Zoomed in looking up from the ground. ALL mess ups that I did to the 2 beams, ARE NOW FIXED as of Saturday, March 27th, 2021! Was able to find some help with it all. My cousin James - KG7EWI that lives here in town also, was able to come over and help me.
In first initial testing.. turning radio on.. I do hear a lot more usual static levels noise than I did before when they were outta wack, so hopefully its working phased properly. Time will tell..
**Well.. As of Sunday evening, March 28th, 2021 for the South Utah SSB Net at 7pm, all is well and both antennas are working properly!!
 to go back to top of this webpage to go back to top of this webpage

© KF6ELU 1995-2024, All Rights Reserved ©
Website design © www.ias.cc
|
|
|